Bugs and Garden Thugs

Pests large and small and how to protect your defenseless plants

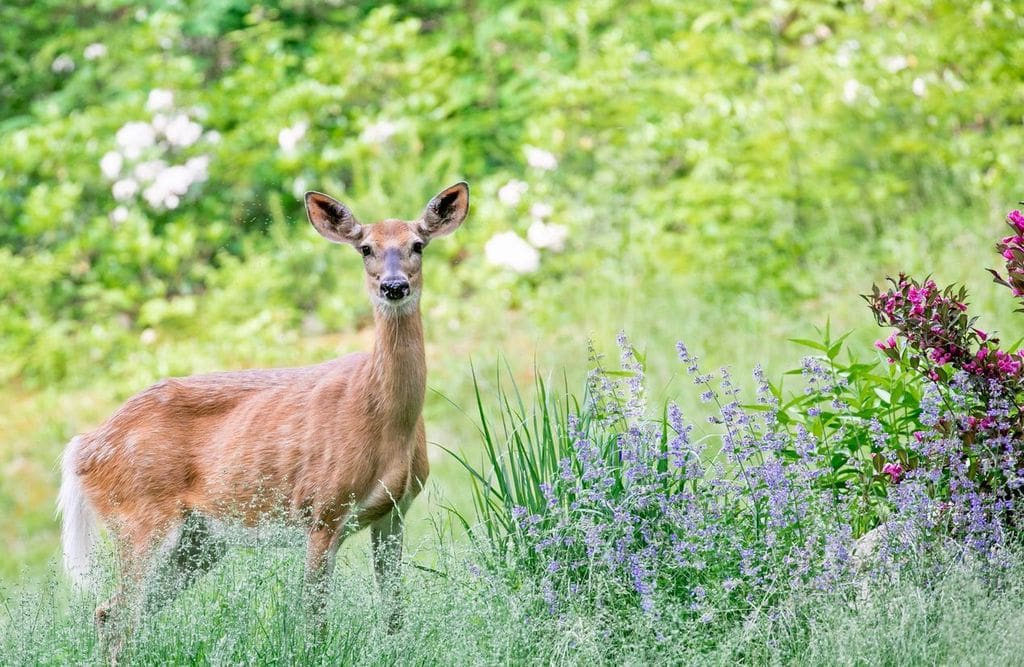
Let’s face it, it can be a war zone out there for all those expensive plants we invest into our landscape beds to establish color, form and texture.  We are battling many factors working against us as gardeners.  There are many competitors, mostly in the form of weeds and then larger, more established plants in the landscape such as larger shrubs and shade trees, that are competing for available nutrients and water.  We are fighting soil conditions; pH levels, moisture content, soil compaction, microorganism activity and fungal growth that all may have an effect on how healthy a plant is going to be.  We are battling larger insects and airborne pests in the form of; larvae, ant, caterpillar, beetle, fly or moth, all of which have the ability to feed upon a plant’s susceptible parts and weaken it, allowing disease to become present. Finally, we have our larger predators to be concerned with, which consists mostly of 4 legged furry creatures such as rabbits, deer, skunk and other smaller mammals that are feeding directly on the plant, or digging for larvae in the ground and tearing up the surrounding landscape.

How to defend your garden from these pests.

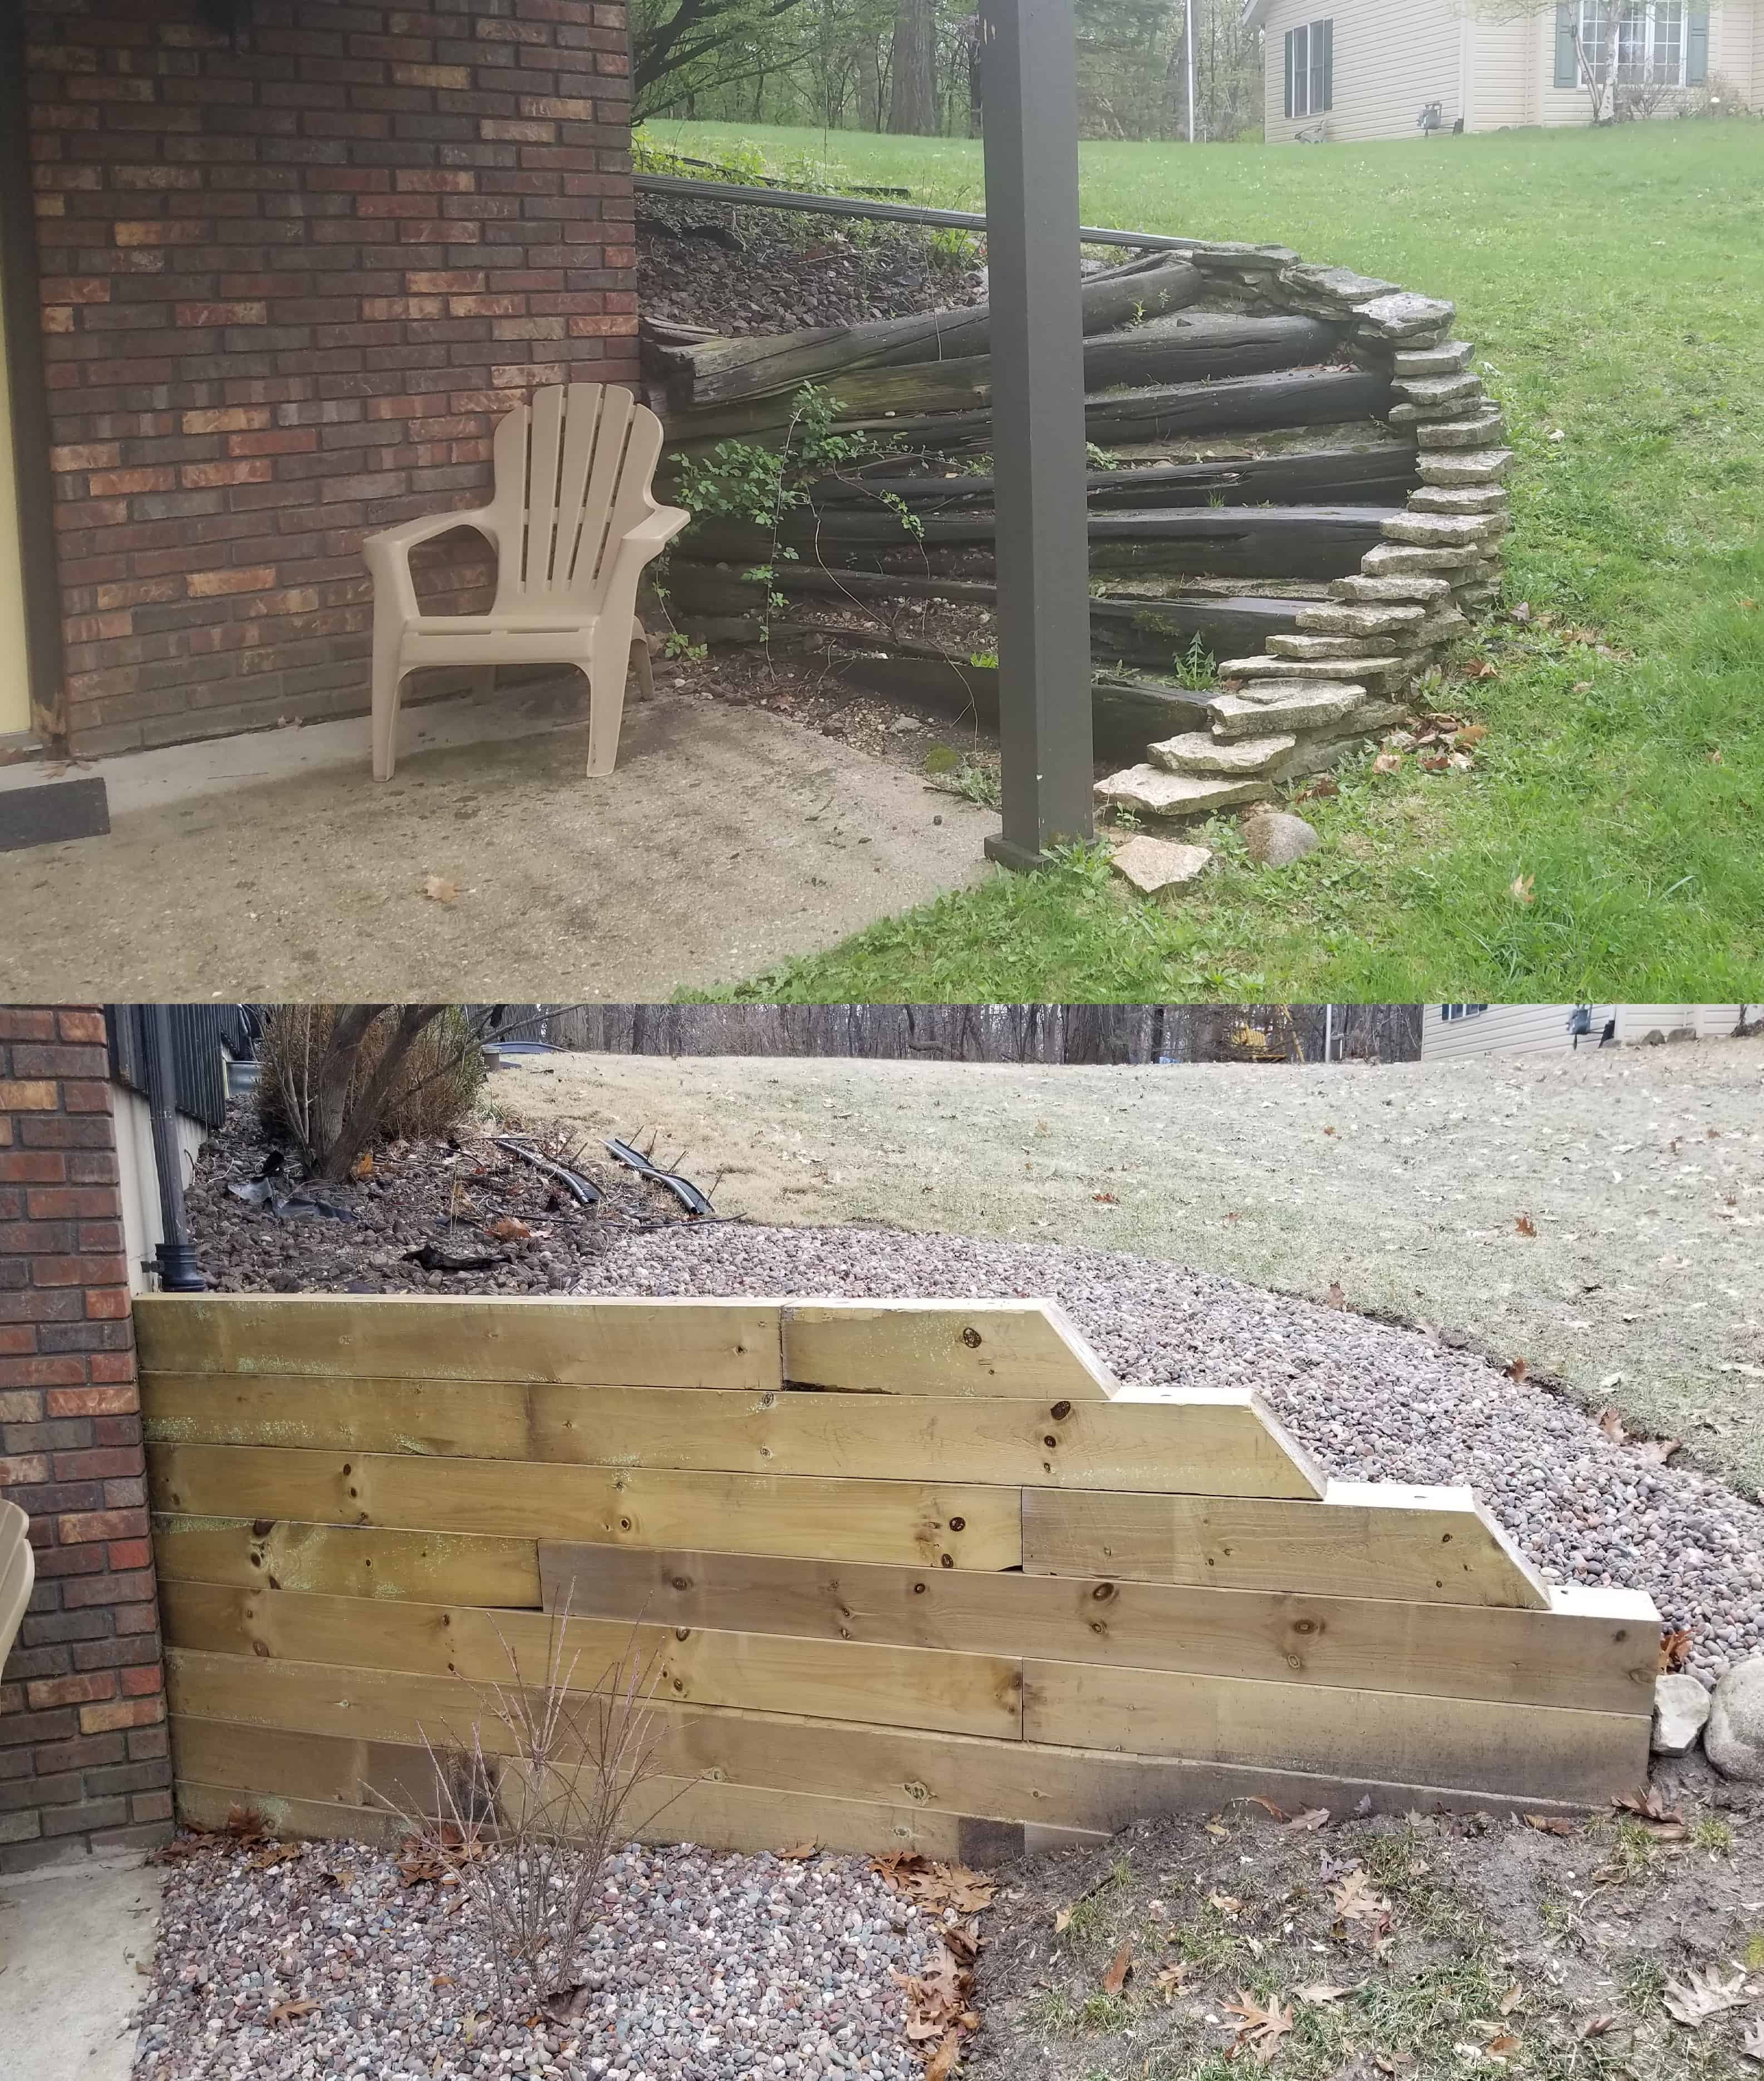
So how do we best equip ourselves to go into battle against all of these plant killers?  We arm ourselves with not just tools, organics and chemicals, but with the knowledge to know when to dig, when to spread, when to spray and when to fortify your defenses.  A good offense is the best defense against most of these pests. I say that in reference to being proactive in maintenance practices so that none of these factors get too far out of control.

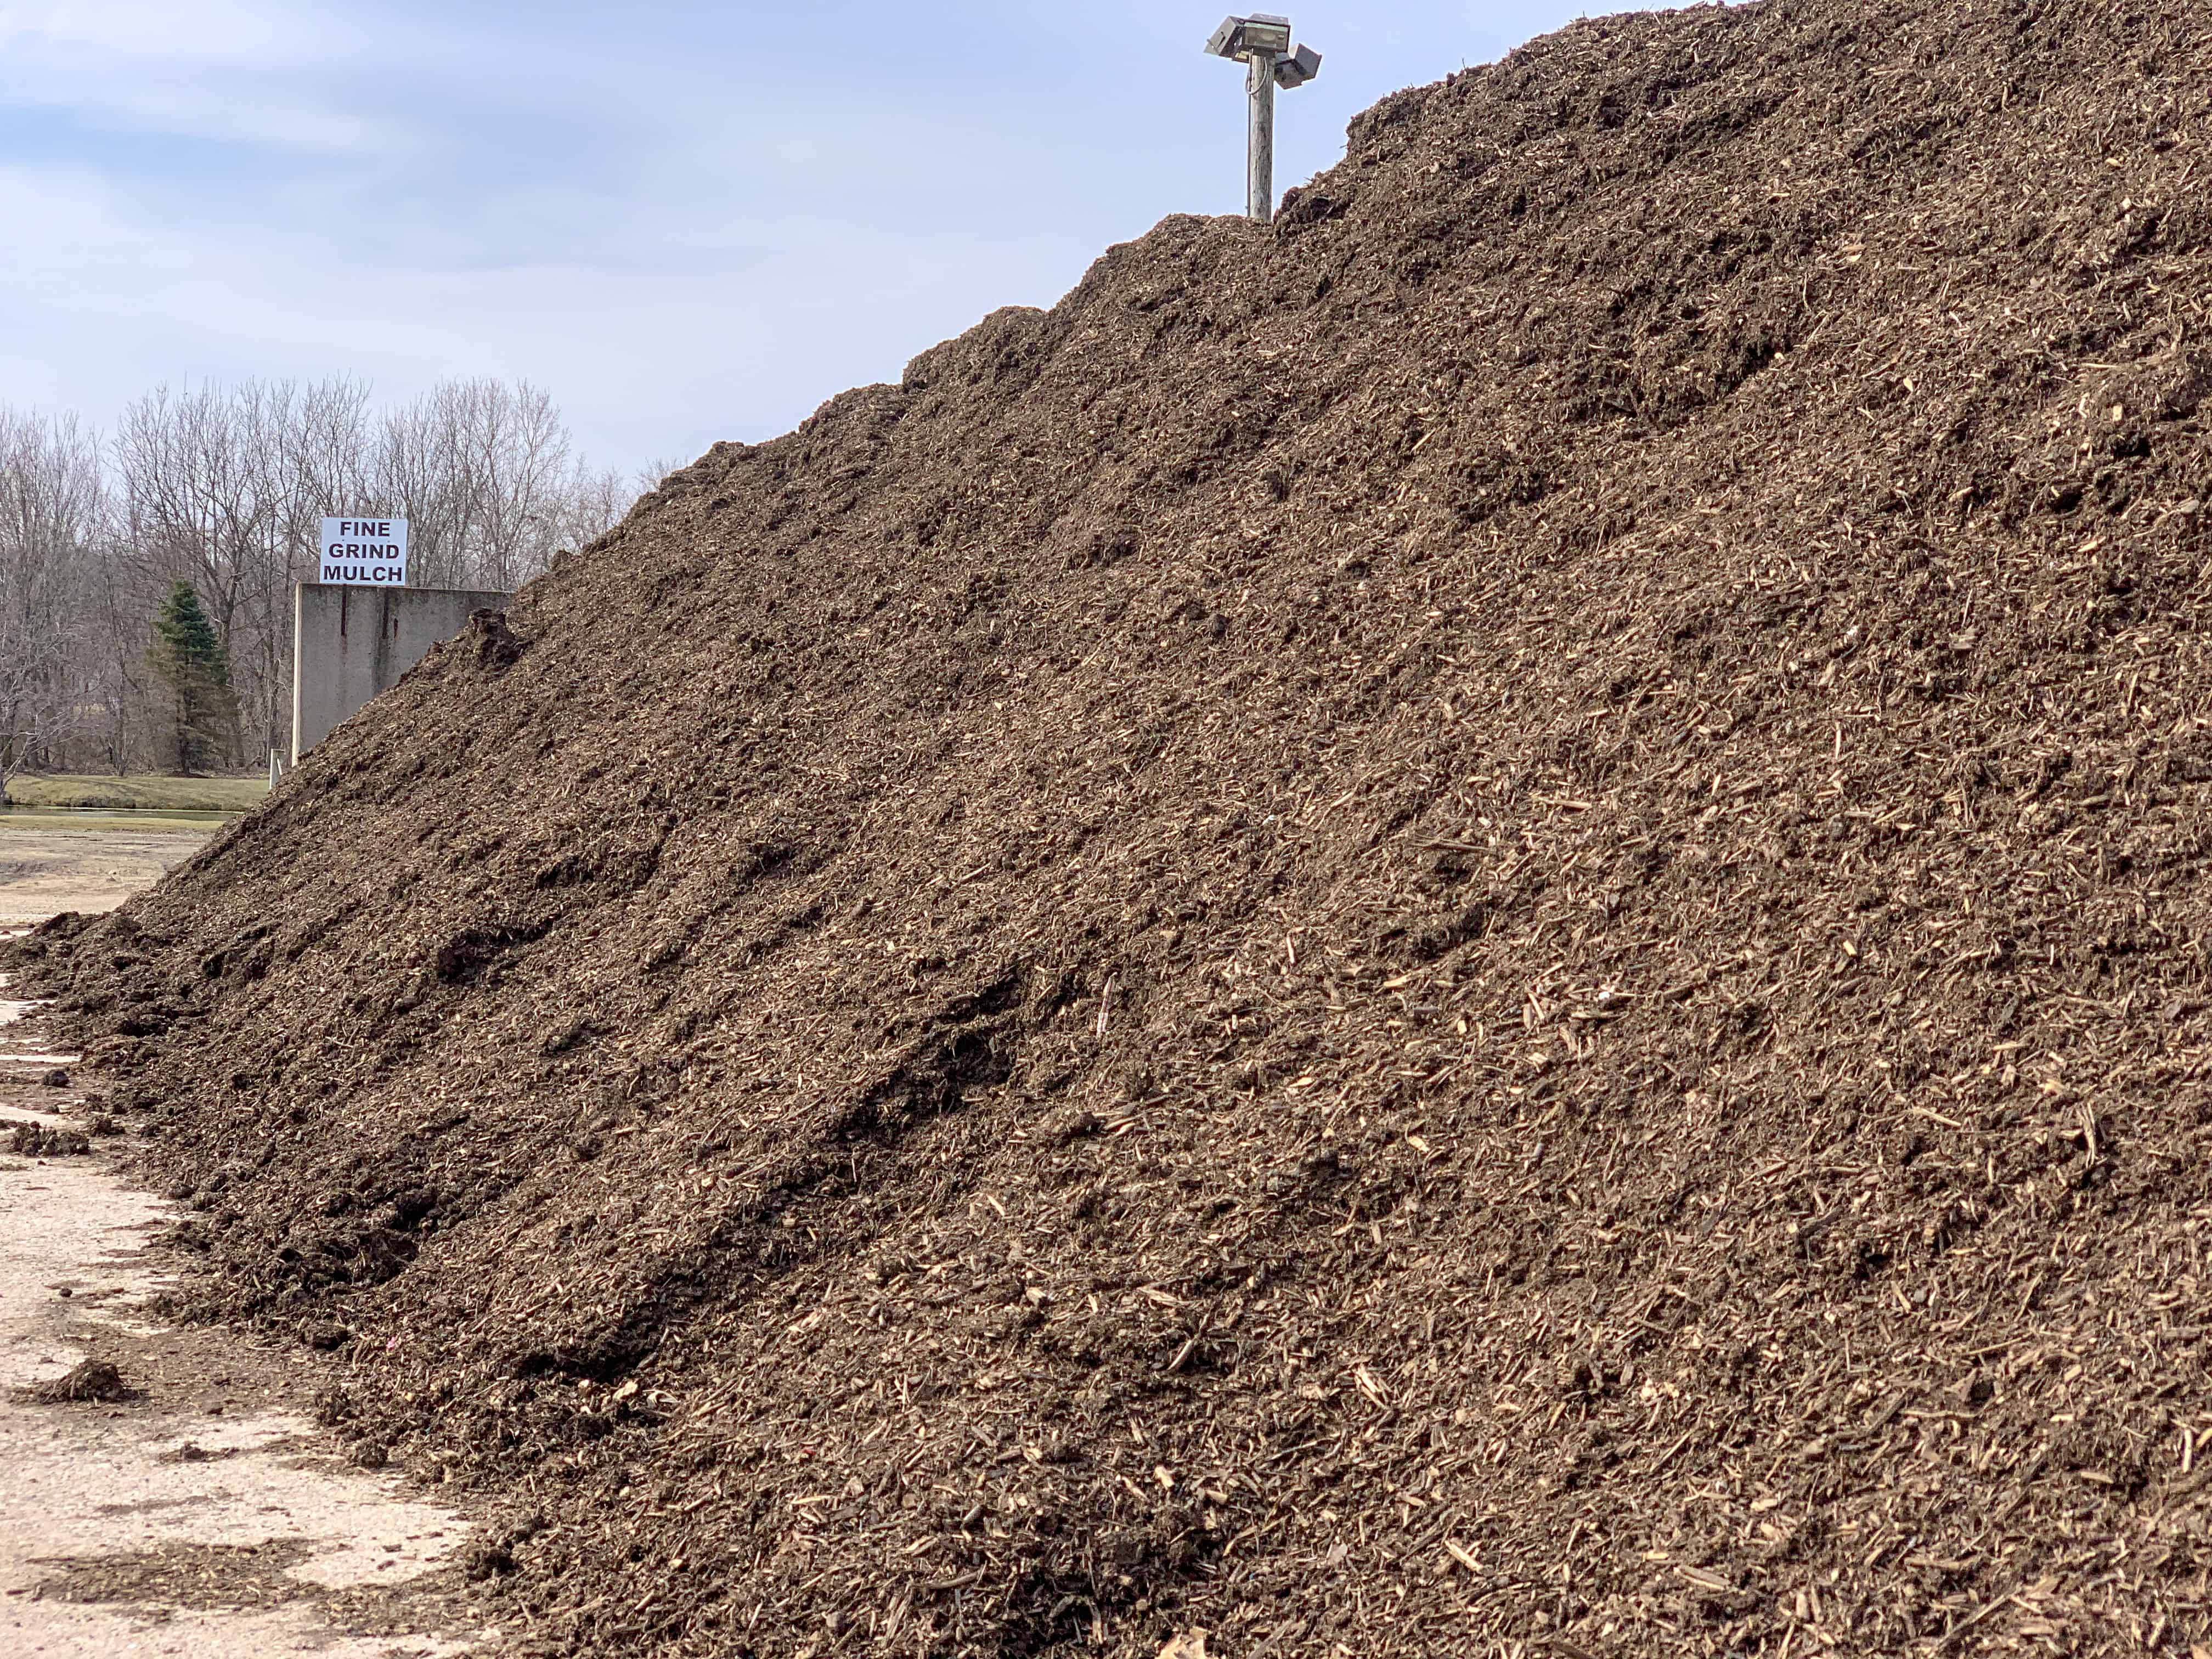
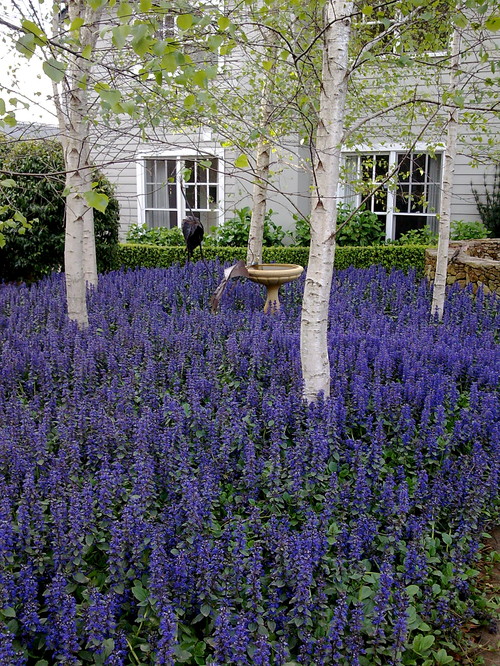
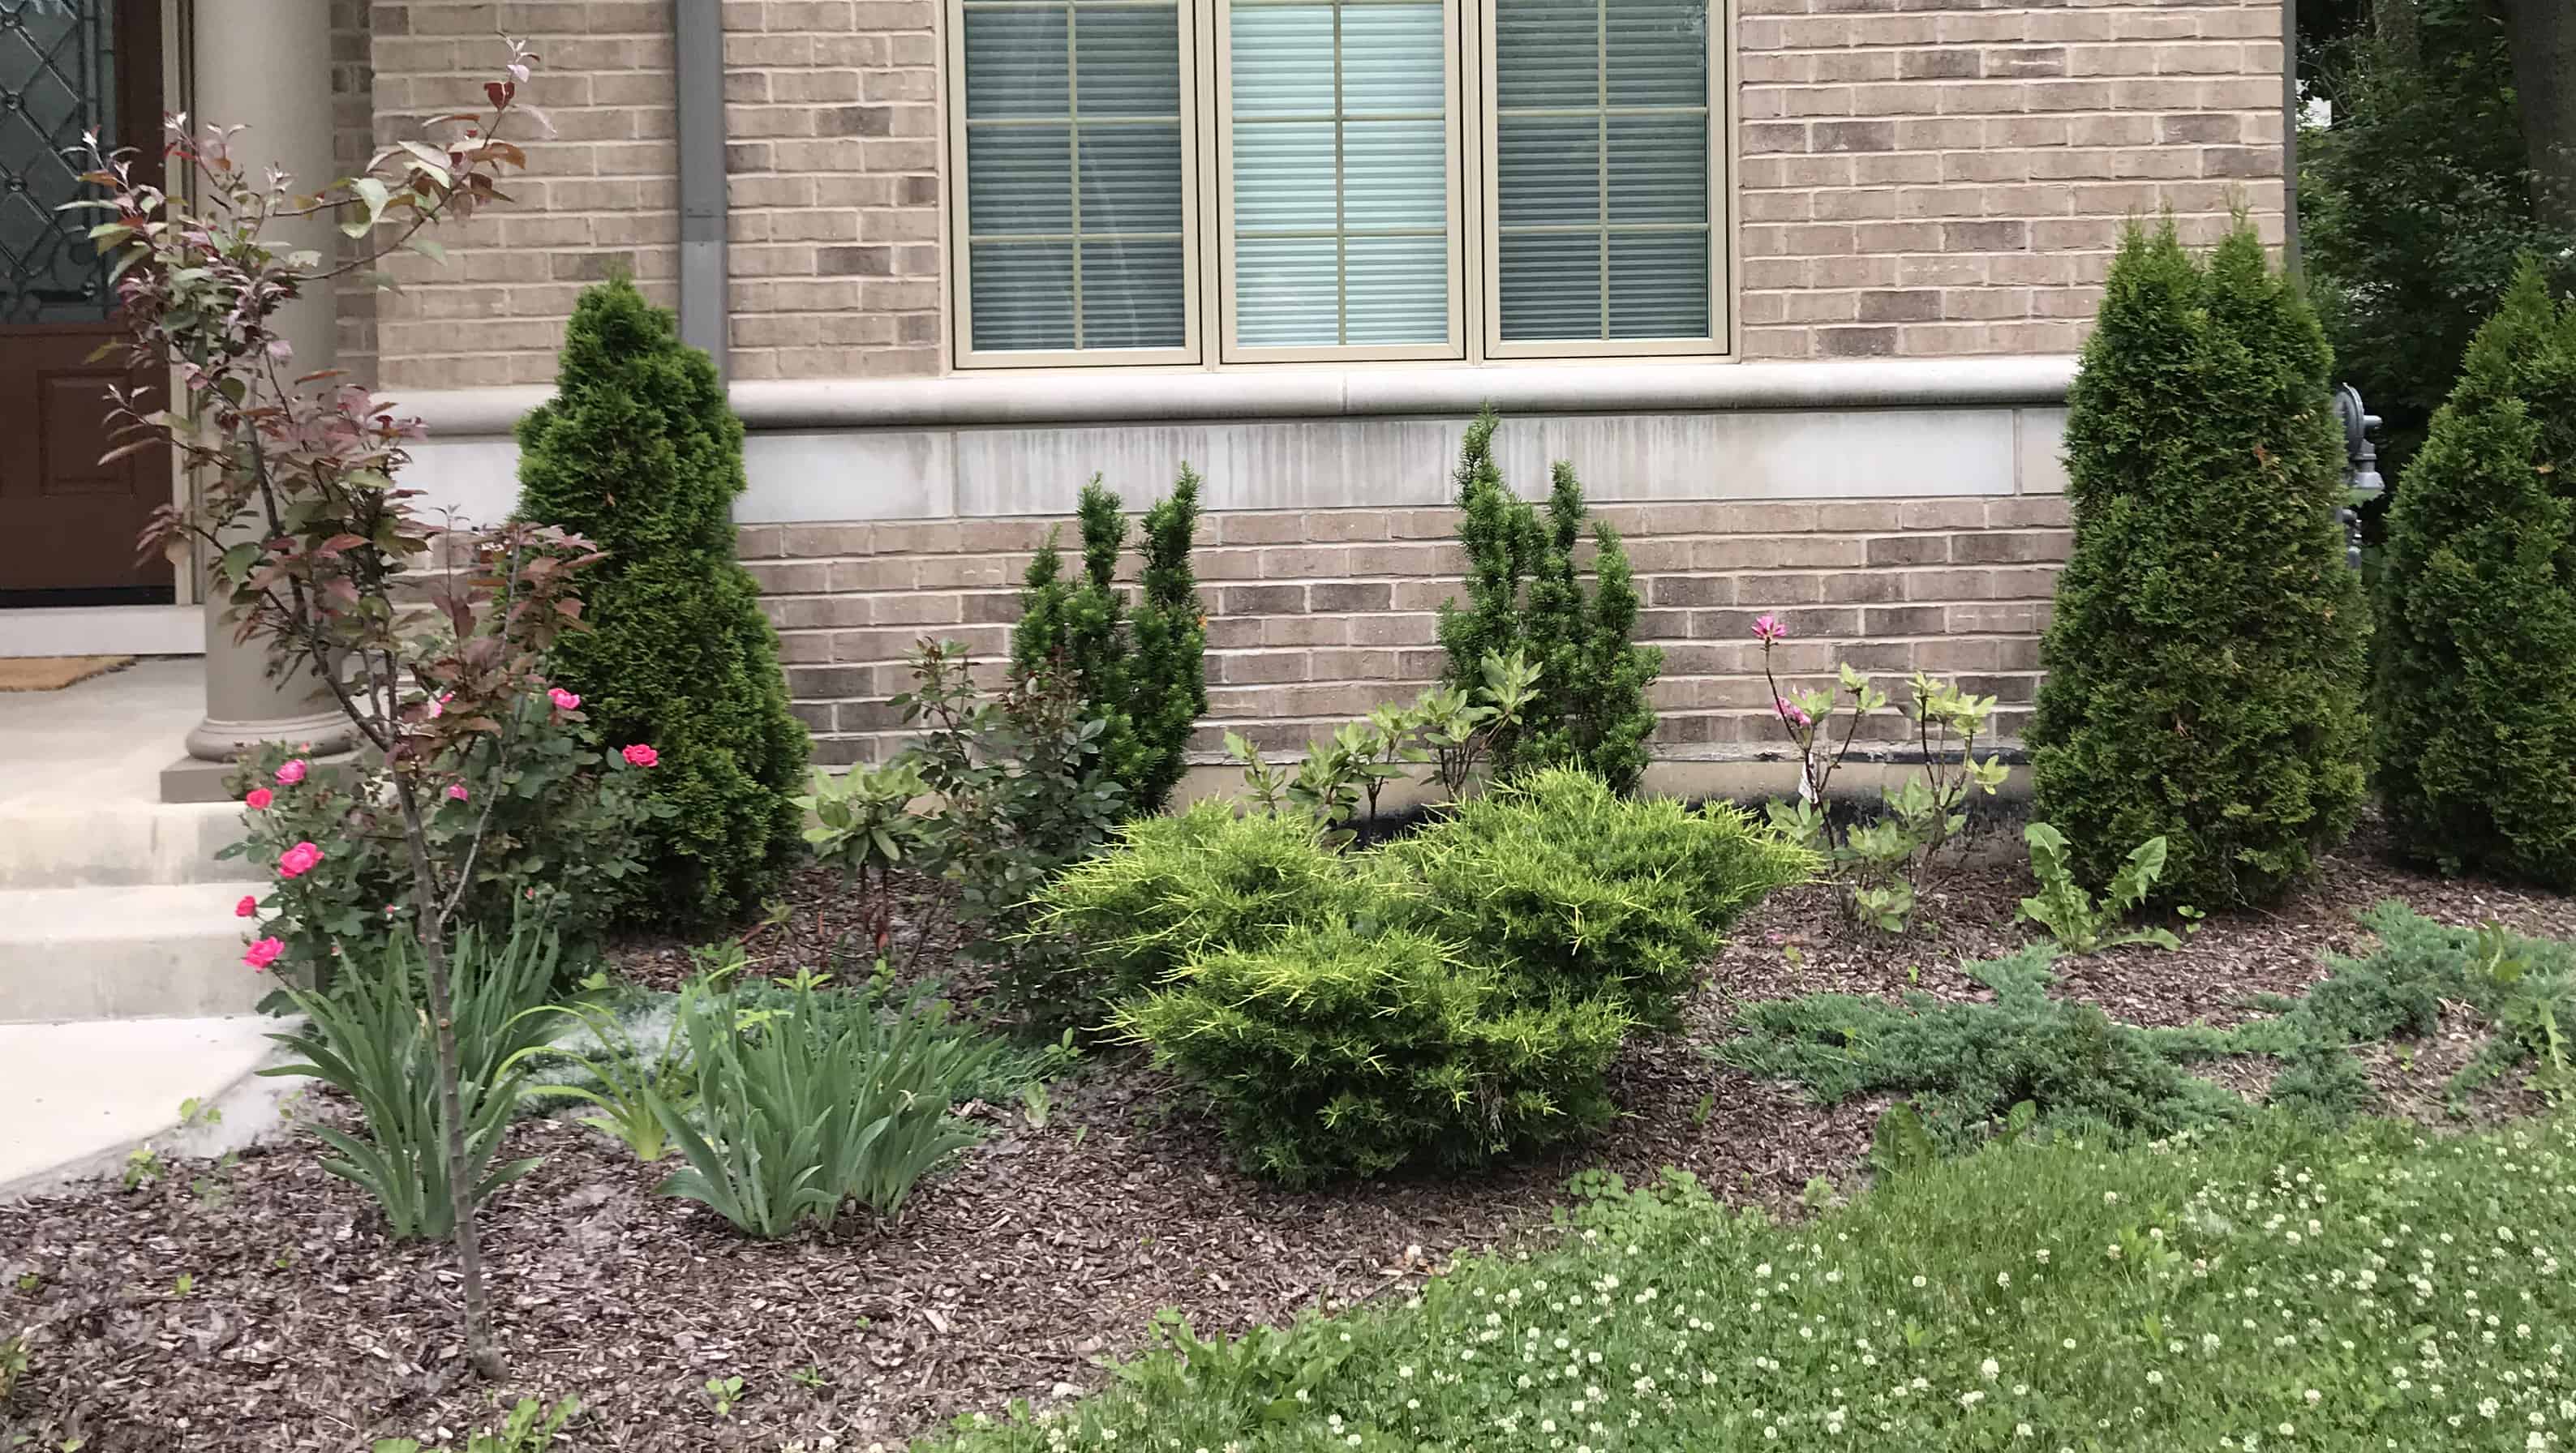
Weeds are one of the first things to pop up in your landscape beds and getting into those beds early after coming out of dormancy and physically removing the new shoots of weedy species before they spread is an important step in making sure your landscape plants are taking advantage of the available moisture and nutrients in the soil early in the growing season.  Application of a healthy layer of mulch will serve multiple benefits for you as well as your plants.  Mulch will help with soil moisture retention, and at the same time, give organic matter and micronutrients to the soil and thus the surrounding plants.  Mulch will help the caretaker of the garden by reducing the amount of new weed germination, cutting the amount of time needed to keep the landscape weed free.  Mulch also helps to balance a soil’s pH and gives a nice finished, consistent look to all of your landscape beds.

Fighting naturally occurring insects  can be a challenging task because of the essential element of timing involved.  Additionally, with all that has become known about pesticides and their overuse and harmful affects on our health, many are reluctant to use any sort of pesticide at all in their garden.  In general, we believe that the organic choice is always the best choice, if available.  However, sometimes, in order to prevent the use of more harsh chemicals at a later time of year when a problem has turned into an outbreak, it is necessary to apply preventative chemicals so that larvae cannot form in the first place, and turn into a leaf eating beetle.

How to ID pests in the landscape.

There are so many small pests to identify that it can take years to understand the intricacies of IPM (Integrated Pest Management).  One of the best resources available can be found on the Chicago Botanic Garden website.  Here you get excellent identifying characteristics for the pest or disease, timing and treatment options.

Google images also does a great job of helping to identify pests through their descriptive characteristics.  There are many resources out there on best horticultural practices and how to swing your maintenance approach and pest control practices to a more organically balanced solution.

Make your bed!

Soil amendments and bed preparation for display garden results.

What is your soil made of?

The structure and make-up of what our plants grow in is of utmost importance.  Before we expect our perennial favorites to put on a dazzling show we must make sure we have the proper conditions available for the plants.  According to the Horticultural staff at the Chicago Botanic Garden:

The physical composition of ideal garden soil may surprise you. It should be 50 percent physical matter (45 percent soil aggregates like clay, silt, or sand and 5 percent humus/organic matter, meaning decaying plant and animal waste/remains). One quarter (25 percent) should be water. And the remaining 25 percent is—here’s the surprise—simply air.

This breakdown may change your view of the ground/soil that you expect your plants to perform in.  It illustrates the importance in not just fertilizing your plants for performance, but creating a sub-surface micro climate that allows these elements to be present.

Good Garden Practices.

How does this translate to real garden practices?  Get into your beds and dig around!  When you are weeding, get a little aggressive in not just getting the deep roots of the weed with a trowel or spade, but cultivate the earth around to allow more air to enter the soil structure, more water to penetrate and the organic soil amendments you add later will leach into the lower layers more readily.

Dig and divide perennials every 3-5 years to break up hard pan soils that may have developed over a number of years around established plants due to a lack of tools hitting the area for a proper cultivation.  A true gardeners soil structure is built up in layers over a number of years from frequent activity and aeration, or is professionally cultivated on an annual basis. Typically the best performing gardens in our Midwestern soil, which can be clay heavy in many areas, are those that have hand and tools in them many times a year weeding, planting and adding organic matter to the top for continual addition of nutrients.

What is Vermicompost?

Speaking of organic matter, Vermicompost, which has been mentioned here many times before, is one of the best sources of concentrated organic matter on the planet. We even have sample packs or both Vermicompost and Vermi extract we make available to you if you schedule a landscape consultation with one of our Horticulturalists or Landscape Architects at your property. If you want to purchase this amazing natural organic soil amendment for your own gardening purposes, it is available for pick-up at our Wadsworth location; from bags of compost, to bulk orders and services for applications of Vermi extract, we can get feed your plants like they are the kings of the neighborhood landscape you always envisioned them as!

Check out Terra One Organics for more information.

In summary, feed the soil, not the plant for the best results in your own garden.  Continually monitor the elements of the soil structure you are building and make sure that you are not just adding chemicals to the beds expecting results, but giving the soil the air, water and life it needs to allow the plants to grow in the most important place of all, below the surface.

Feed the soil, not the crop   -Robert Rodale

Retaining walls form and function

Mother Nature often has a mind of her own.  It’s even harder to control her.  You’ve built your dream home on the top of a hill or along the banks of a river or lake; but the only flat space was used for the foot print of your home.  Now what? You can take some control of Mother Nature by using retaining walls to turn a hill into a multi-level area, creating privacy and intimacy with low retaining walls and create structure to stop erosion on steep inclines.

Retaining wall, natural stone

Walls are not only utilitarian, used to hold back earth but also to create division for your outdoor rooms.  A low seat wall can separate a formal patio and the less formal garden walk.  Seat walls also function as additional seating. You can use retaining walls to create sunken or raised patios or gardens.

retaining walls define the space

Besides using the walls to create space they also serve a purpose.  They can be used to divert water to other places in the landscape.  They also prevent erosion on steep inclines.  Retaining walls are often necessary because the landscape is not perfect for our needs.  They are there for form, function and beauty.

There are many types of materials that can be used to create retaining walls.  Back in the 70’s railroad timbers were quite popular for creating retaining walls.  Though these are still used to this day they are not as long lasting as concrete blocks, brick or natural stone.

Before and after of an aging timber wall rebuild.

Failure of a retaining wall is almost always due to drainage.  If you don’t have good drainage behind the wall it will sink or bow out.  Perhaps your wall is failing due to its age, or poor construction.  Maybe it’s time for an upgrade.  We can help you with that contact us now!

Low maintenance alternative to lawns

We often think of a yard as a massive expanse of turf grass.  Which, when well maintained, is the epitome of the home landscape.  But there are certain areas of the landscape that just don’t do well with turf (in the shade) or the location makes for difficult maintenance (on a slope for example) or maybe you are a city dweller with limited space (and time for upkeep).  Reducing the size of your lawn can benefit the environment while saving you time, energy and expense.

Many lawn alternative plants are creeping perennial groundcovers that transform a lawn into an lush blanket of color and texture. If you still want that grass-like look but not the continued maintenance opt for native grasses or grass like plants.  Some of the alternative options can take minimal traffic but if it is a high traffic area be sure to include a pathway to get from point a to point b.

Great groundcovers:

Creeping Thyme-is a great low maintenance groundcover.  It can handle light traffic and does well in full sun.  Bonus it has white or pink flowers and smells lovely!

Photo by Van Zelst IncCreeping Thyme

Pachysandra-a tough low growing groundcover that is quick to fill in.  It handles both full sun and shade.  A great alternative to grass.

Photo by R. P. Marzilli & Company Landscape ContractorPachysandra

Ajuga/Bugleweed-don’t let the name fool you, it’s not weed but a beautiful foliage plant that comes in an array of colors and does well in shade.  It puts up pretty spikes of flowers in the early spring.

Photo by Arthur Lathouris Garden DesignerAjuga in bloom

Lamium/Dead Nettle-another great plant for a deep shady area.  It’s a shade lover with silvery foliage that blooms in the summer, producing clusters of pink or white flowers.

Photo by Windsor CompaniesLamium

Sporobolus/Prairie dropseed-this native plant will give you the look of long flowing grass without the maintenance.  A beautiful alternative to grass.

Liriope/Lilyturf-another great grass like option that does well in sun to light shade.  It also produces a lovely spike of flowers and is semi-evergreen.

Tips to Improve Your Existing Landscape

One of our clients came to us after recently purchasing their home and wanted to add to their existing landscape. It was clear that the minimum landscape requirement was installed here in order to get the permit approved. Let’s look at each photo below and find ways to improve these spaces. All the plant material was grouped together by type and transplanted to more appropriate locations. Transplanting existing plant material is a great way to stay under budget instead of starting from scratch.

These pyramidal evergreens, (Arborvitae) are planted too close to the house. If left alone, they will need to be pruned back every year in order not to become a maintenance issue. Try to keep in mind the plants mature size before planting anything. You want each plant to grow gracefully in their new location vs. pruning back year after year and changing its natural habit. Between the arborvitae, hick yews were planted. As you can see the tops of them are very wild and have not been trimmed back. Hick yews are a perfect plant choice when trying to hide or screen something unattractive. In this case, we transplanted them all around the AC units to make a ‘living fence’.

The pink flowering shrubs (rhododendron) are remarkable plants for their eye-catching flowers in the spring but the most appropriate setting for them is in a wooded, natural area. They thrive in well drained, hummus rich, and acidic soil. Here we grouped them together and moved them to the perimeter of the property under a few tree canopies. Grouping plants together saves you in the long run with not weeding as much and it also allows the plants to grow into each other to create stunning color masses that will look great from near and afar.

Here’s a perfect example of a natural setting of Azalea’s around a Serviceberry.

Another shot of this landscape. Makes you want to sit down and grab a book or magazine next to this Cherub!

In this area let’s discuss the low growing evergreens (Juniper). There are two different kinds here next to a variety of other plants that are just scattered randomly thought out this bed. Junipers are very useful in a landscape when they are retaining soil on a sloped area. They are not the most attractive plant so I would not plant them near the front door or walkway. We transplanted all of them to the back around the existing patio where there was an existing slope. A few other plants that are good for sloped areas are: Gro-low Sumac, Cutleaf Stephanandra, Summersweet, Daylilies, Coneflowers, and Russian Sage.

Now it’s time to look around your landscape. Are there areas where you can fill in empty spaces with more quantity of the same plant to reduce weeding? Is there a tree or large shrub that is planted too close to your house or fence? If there are some problem areas that you need guidance with, give us a call. We would be happy to discuss them with you.

Landscaping for Privacy: Living Fences Make Good Neighbors

One homeowner’s definition of privacy may be radically different than another’s — and they’re both accurate. How can this be true? Because like beauty, privacy is in the eye of the beholder. And if fences make good neighbors, then living fences make even better ones! Evergreen trees and fast growing evergreen shrubs create attractive backdrops in the landscape. They also provide seclusion and solitude while allowing butterflies and breezes to travel through.

northbrook-il-mixed-border-with-privacy-fence

Landscape Privacy Screens Come in Many Forms

If you’re interested in plants for privacy from neighbors, you’ll be delighted to know that you’ve got a plethora of choices, from barrier privacy to canopies and even dense evergreens. Let’s take a closer look at the different types of privacy landscaping and hardscaping and talk about the steps you should take on your journey to creating your private backyard oasis.

Barrier privacy, both penetrable and impenetrable

Hardscape elements like privacy fences can either be penetrable to allow wind through, or completely solid to offer the maximum level of privacy available. Thick dark green evergreen shrubs, like arborvitae planted close together, can create a green screen in your landscape. Some arborvitae trees can reach nearly 20 feet tall. These barriers offer attractive year-round privacy with little maintenance needed. Not certain what you need? Talk to your Van Zelst landscape architect about the level of privacy you want and we’ll recommend the best barrier solution.

Landscape baffles

Though you may not have heard of the term, you’ve likely seen one—a small screen or partial screen, typically penetrable to allow for free air flow, a baffle is used to add privacy to a specific area; you may see a baffle behind a seating area or serving as a “wall” to denote where the outdoor dining space ends. Van Zelst uses baffles to add privacy and personality to a space;  depending on how it is positioned can block a less-than-desirable view while serving as a lovely focal point of its own.

Canopy privacy

There’s nothing like relaxing during a lazy spring or summer day under the shade of a tree, but it’s important that the right trees are planted in the right places so you can maximize your enjoyment. Your tree’s canopy—how far it spreads, how dense it is and how often it sheds its leaves—will have a big impact on the amount of privacy and serenity you’ll be able to enjoy in your yard, so making informed choices is key. patio-living-privacy-screen 
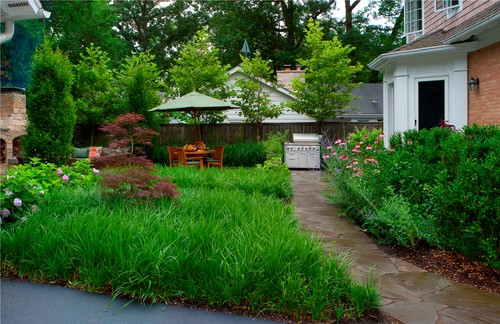
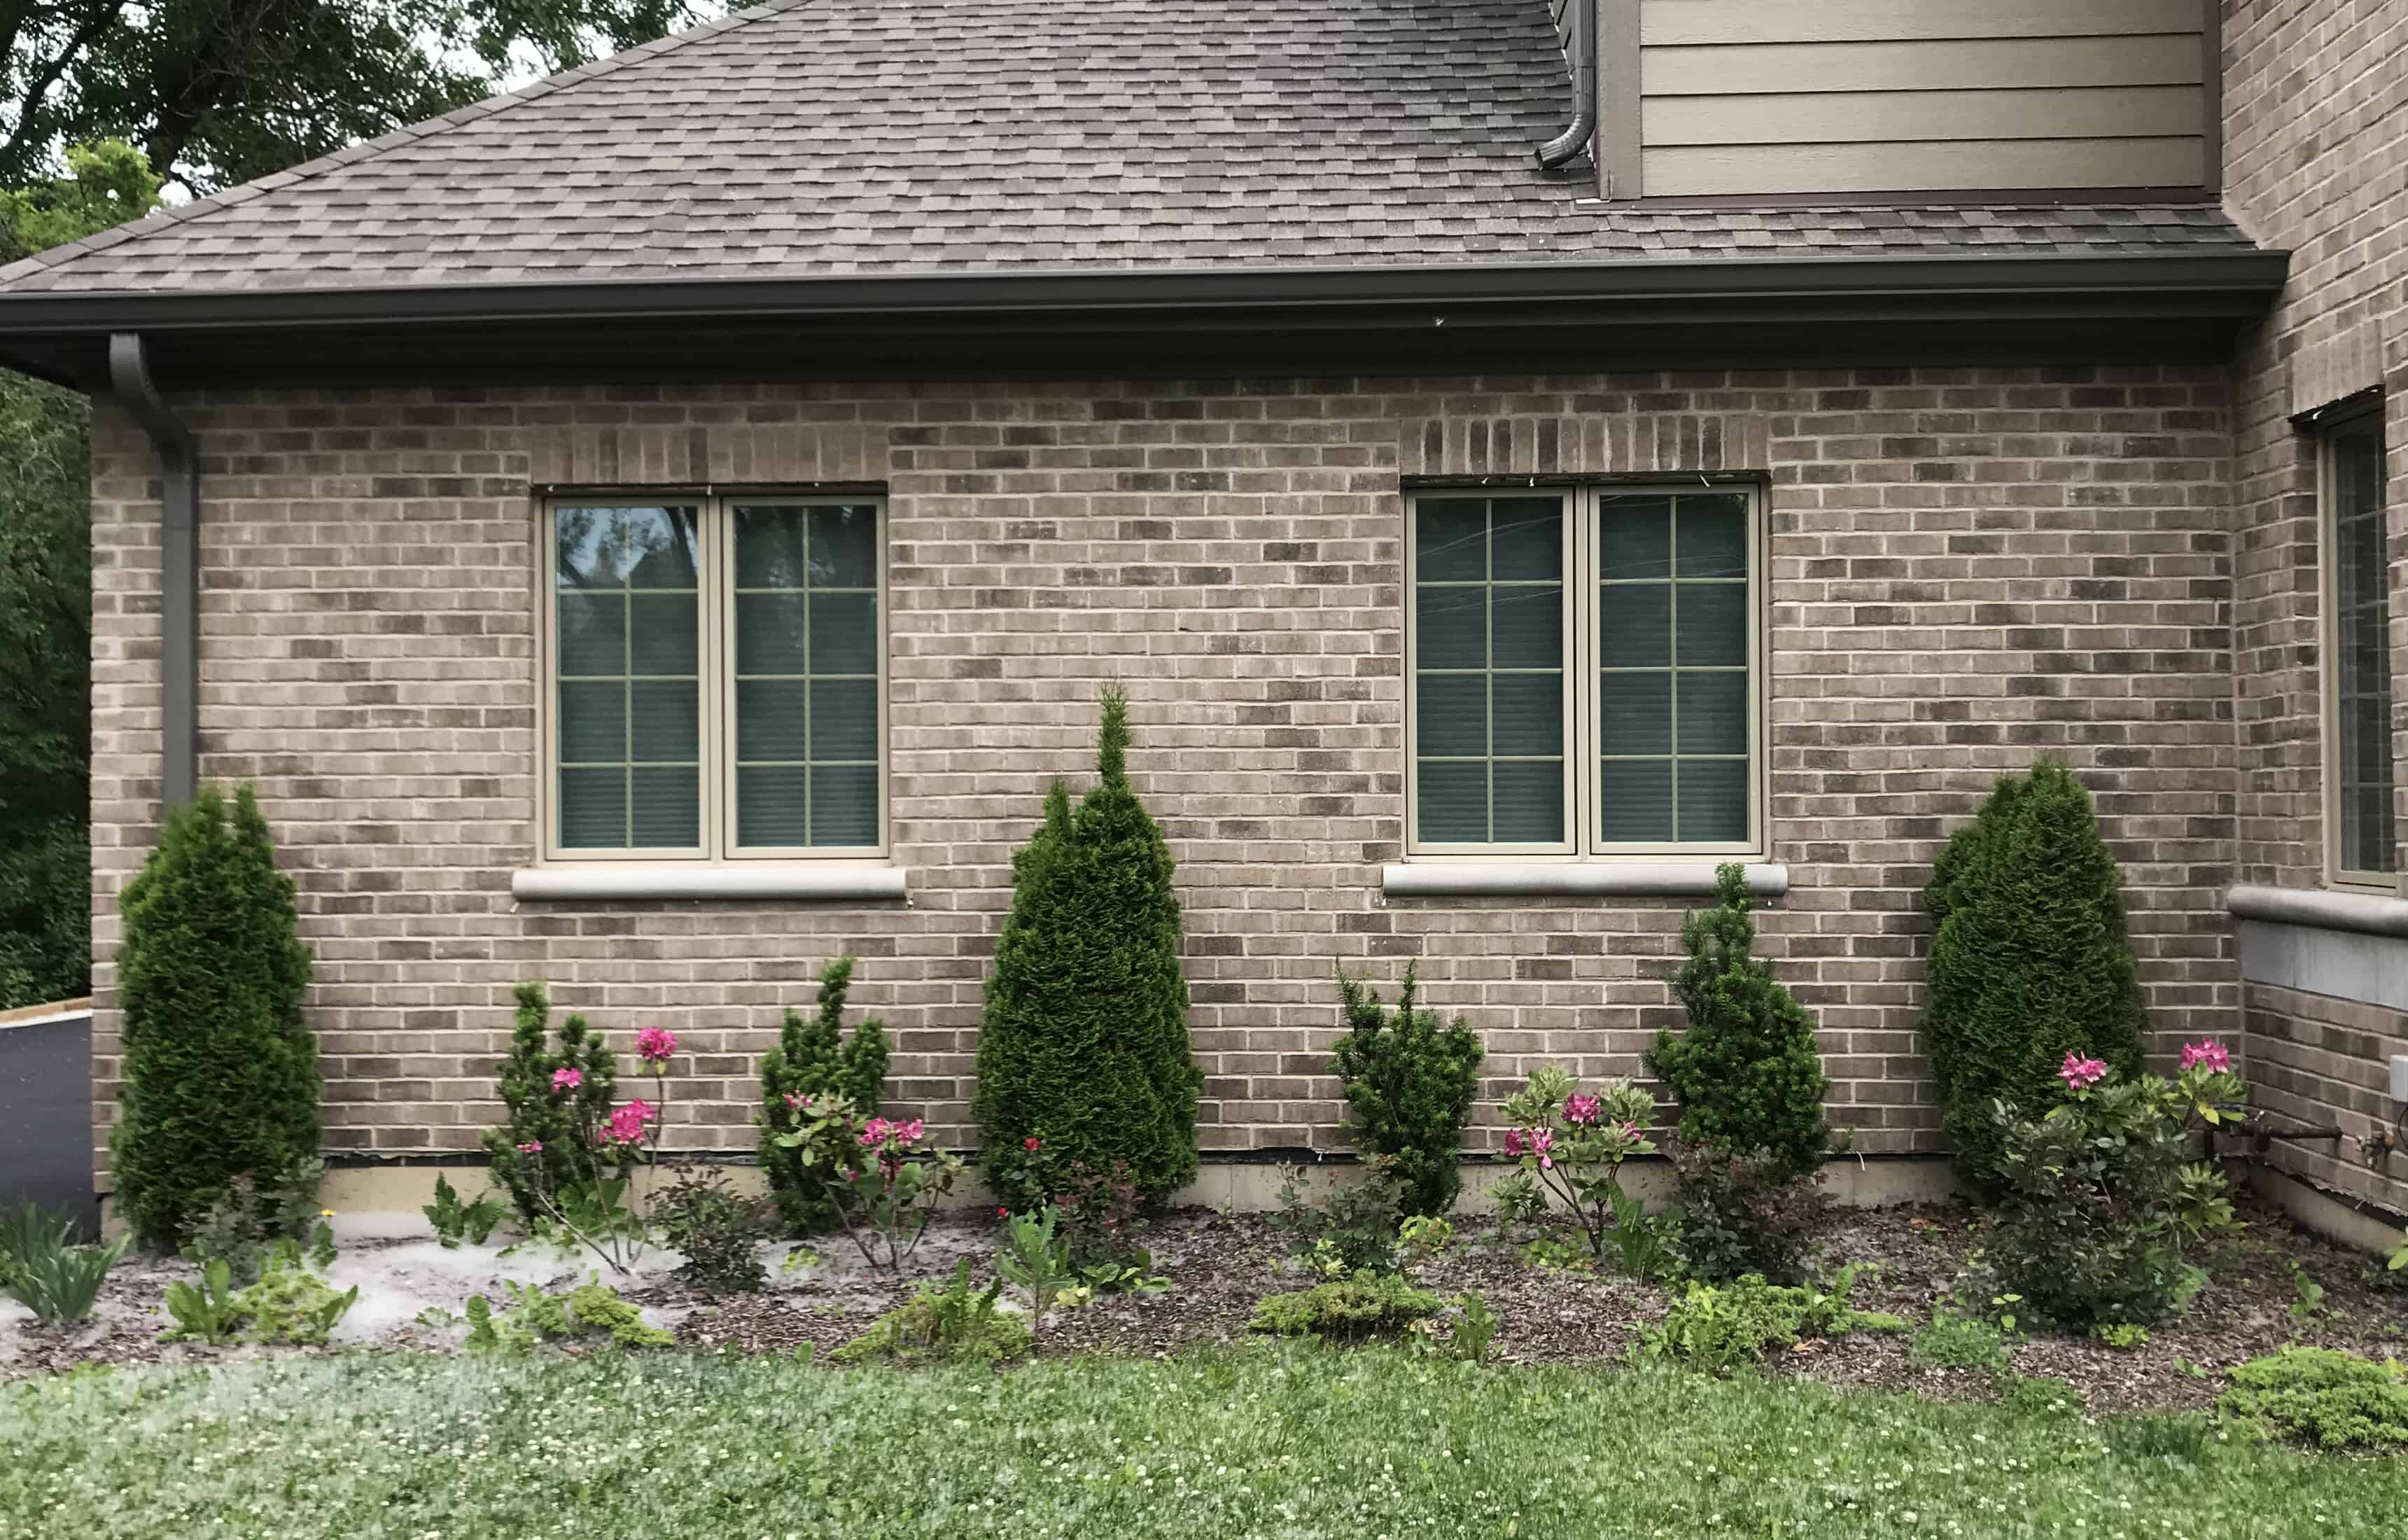
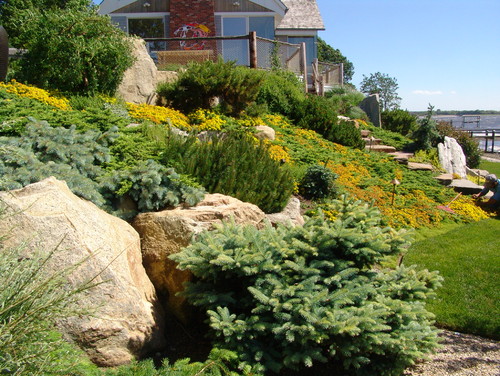
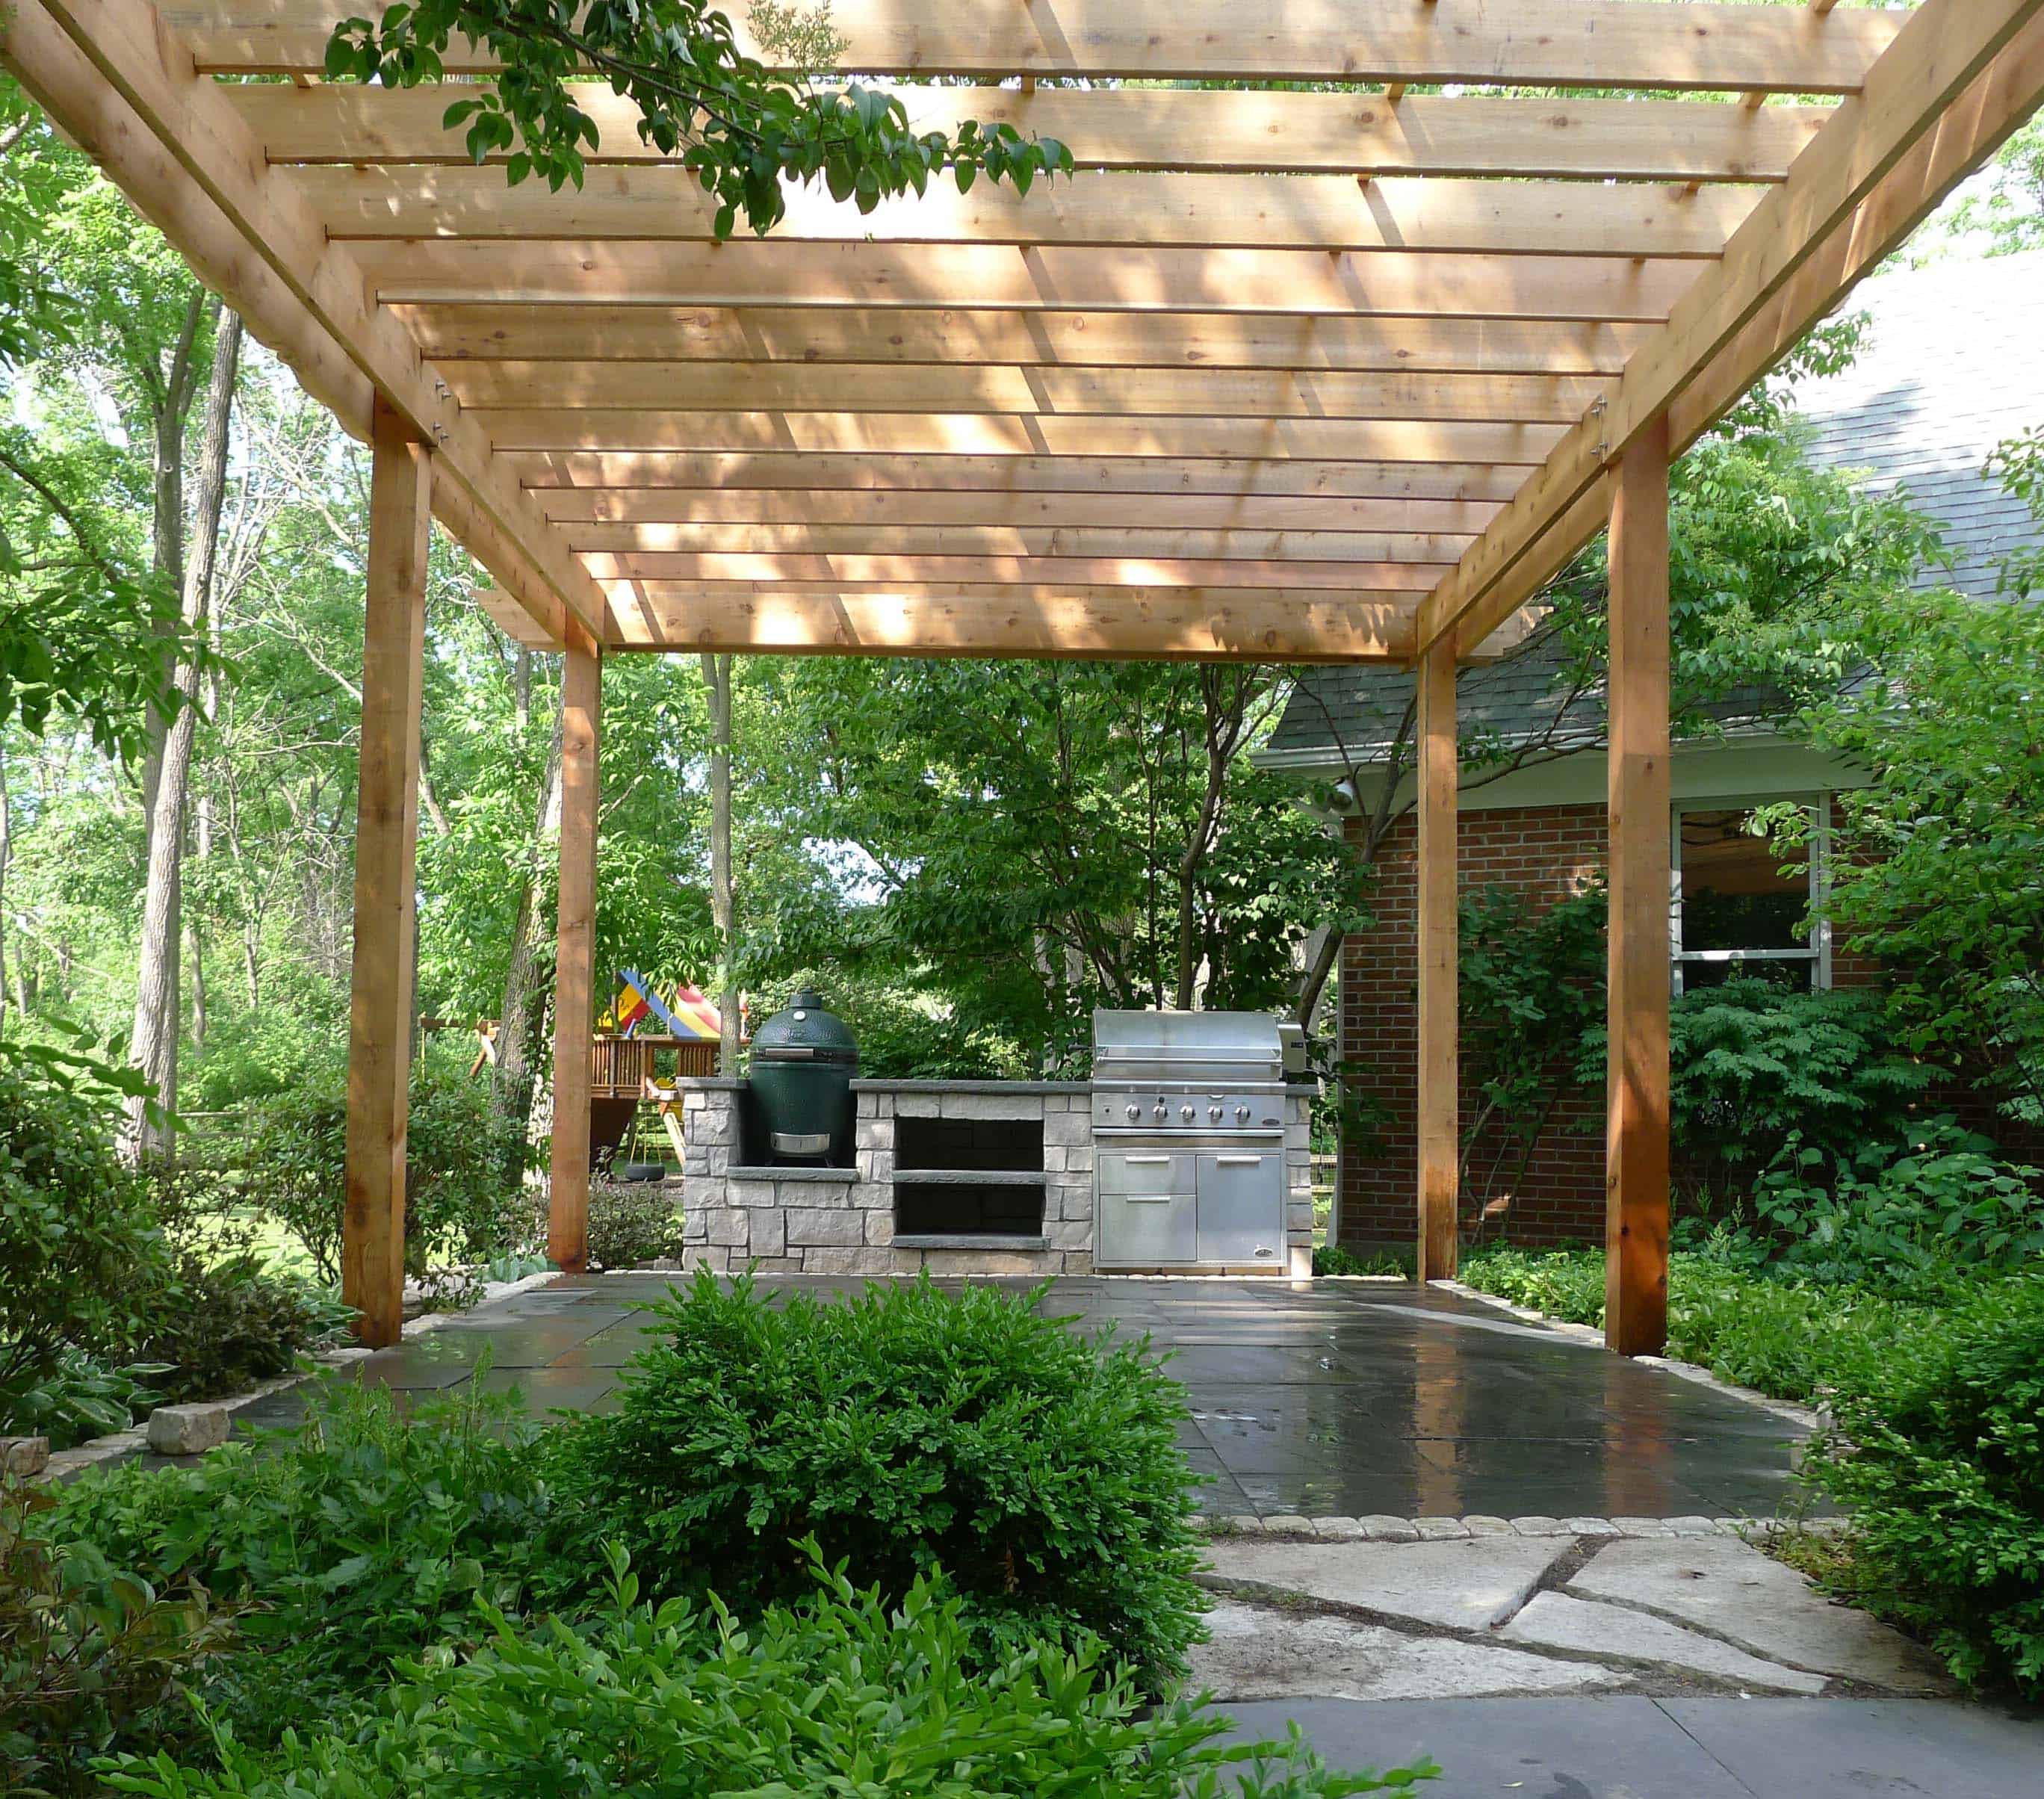
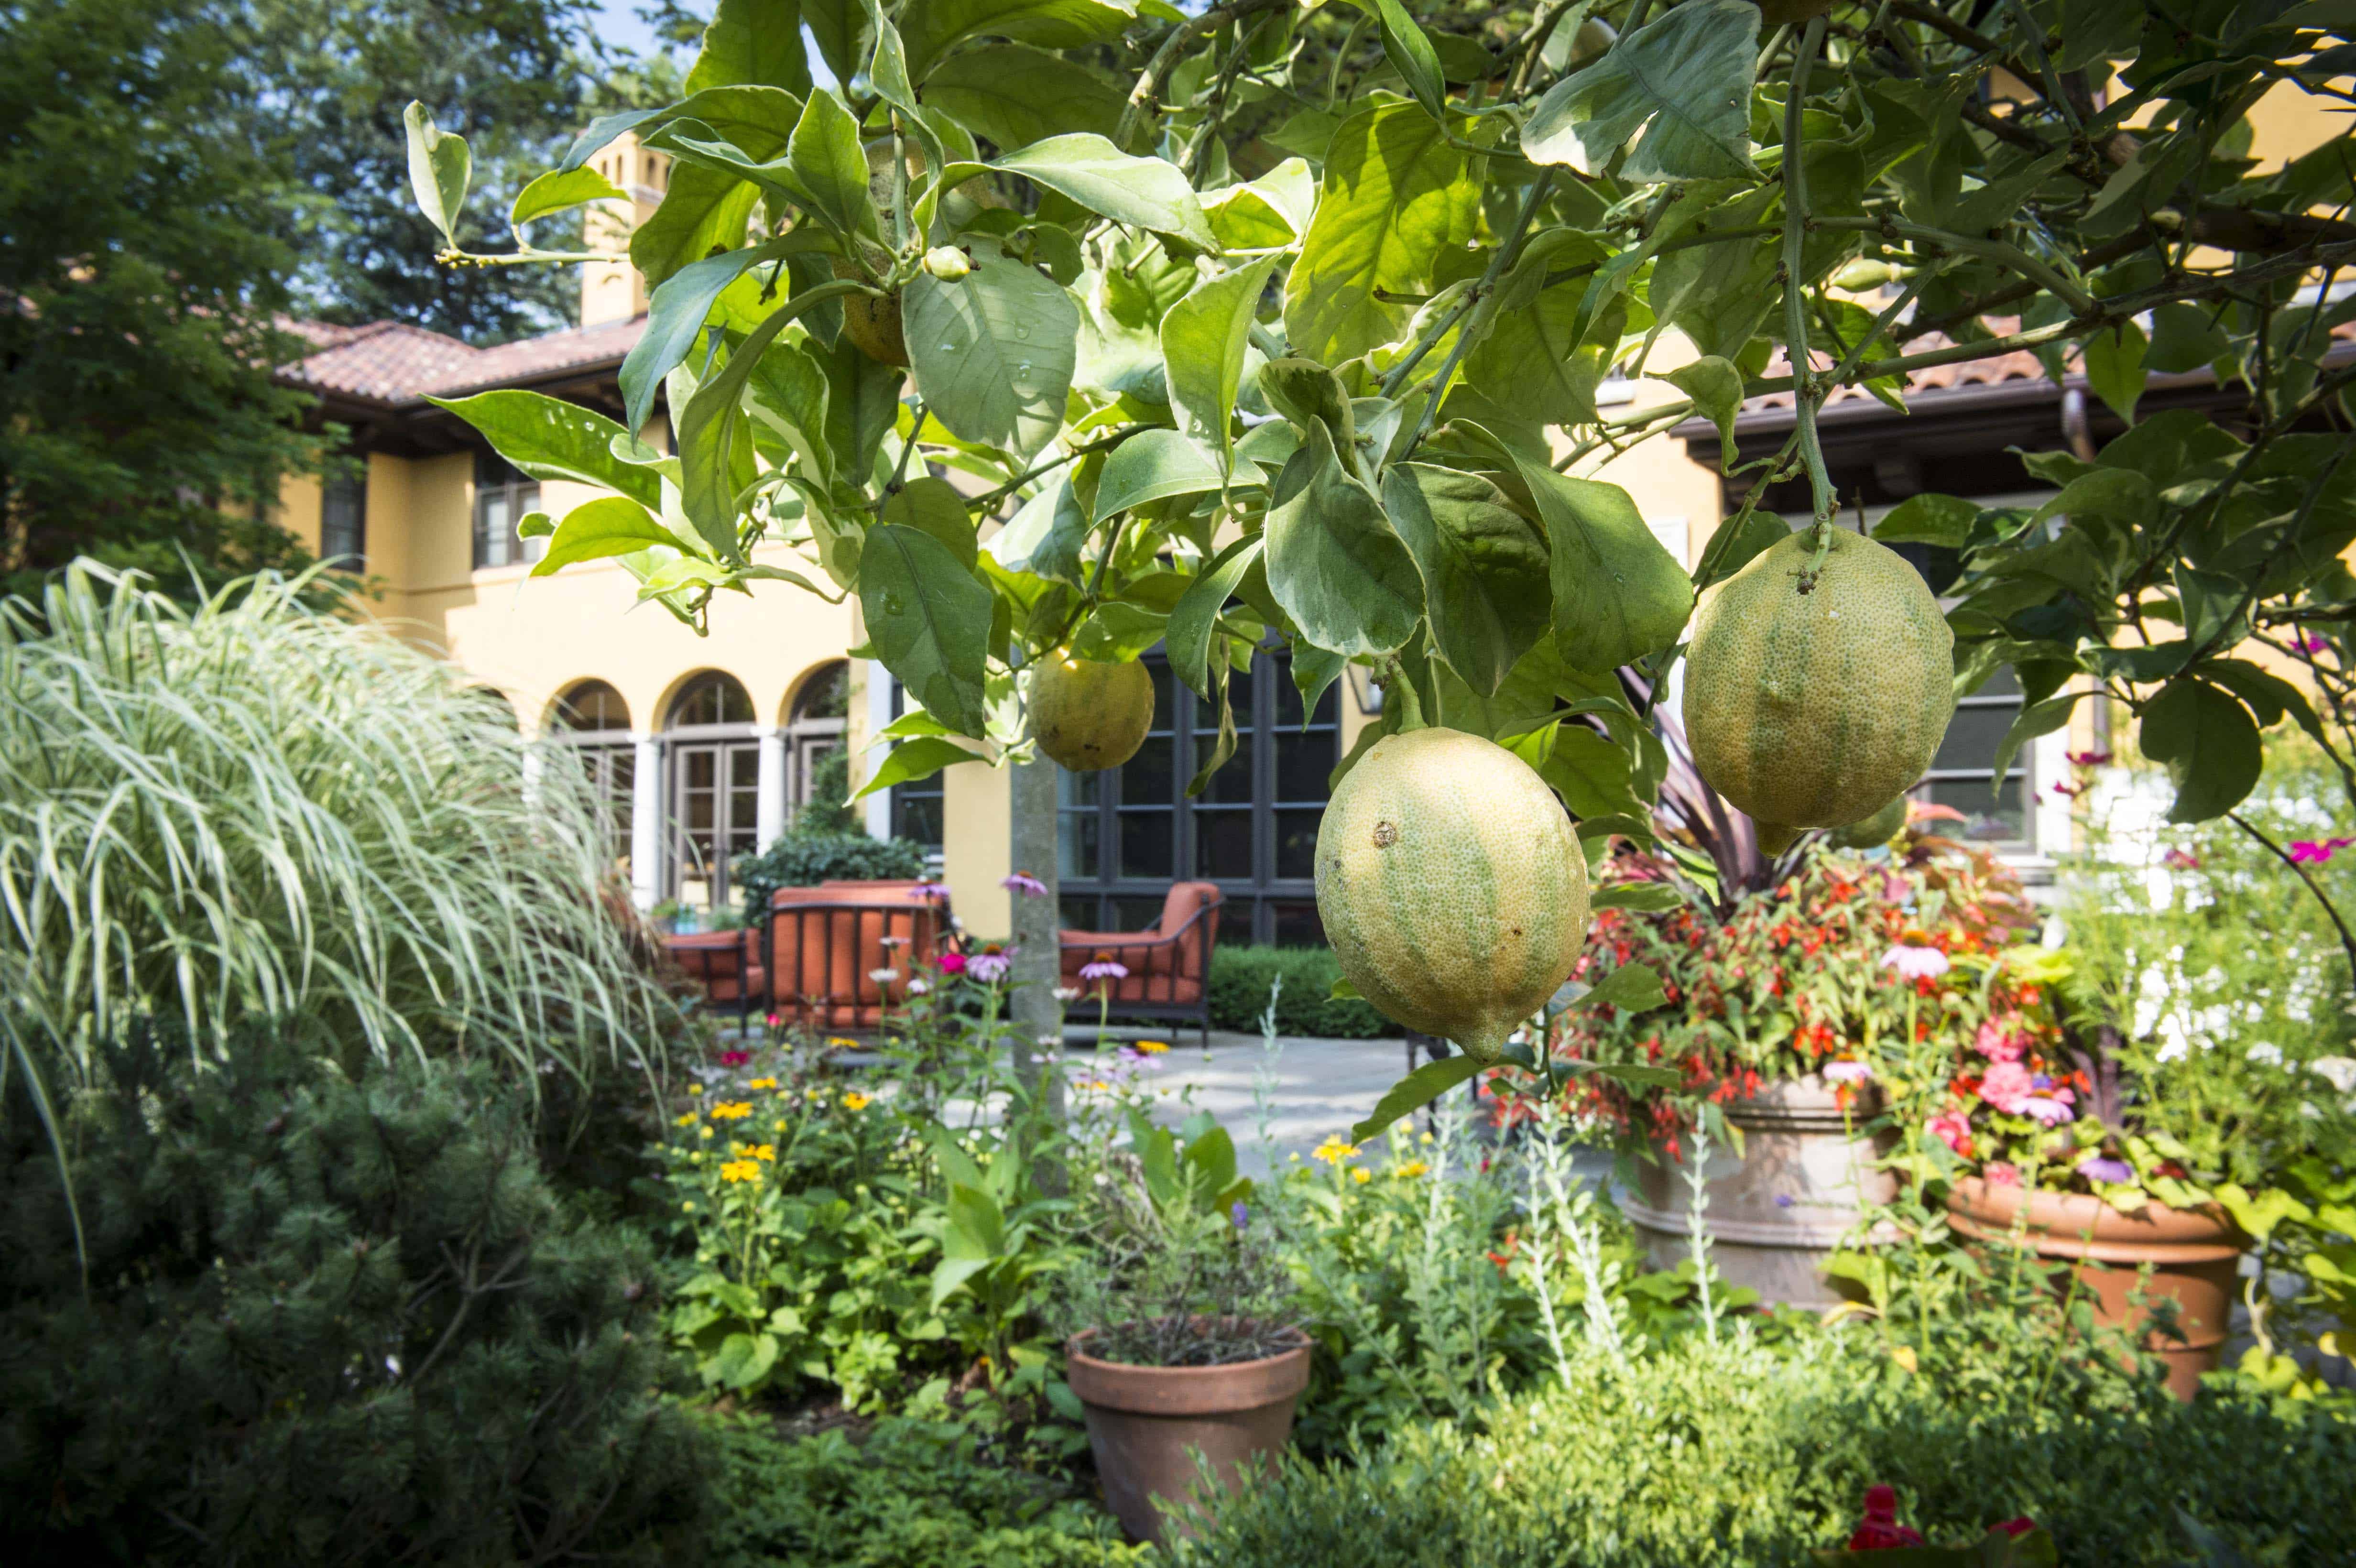
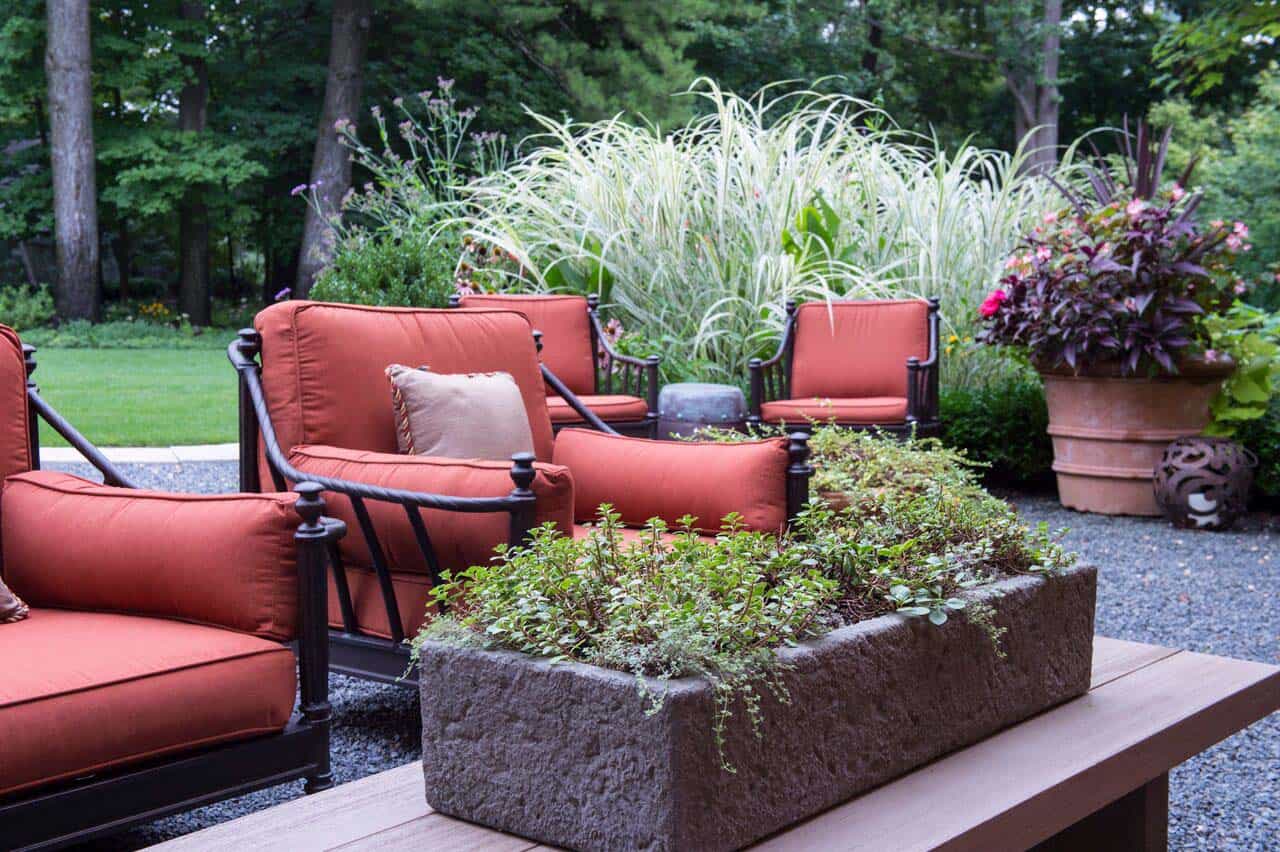
Hearty hedges and shrubs provide year-round privacy, while privacy plants in pots provide coverage and seasonal pops of color.

Seasonal privacy

When landscaping for privacy, you must think past the warm summer months to ensure your landscape will be able to deliver the seclusion you need, year-round. Evergreen trees, along with hearty hedges and shrubs, will create a base level of privacy that you can count on seven days a week, three hundred sixty-five days a year. Van Zelst knows which plants work well in this area, and which ones don’t (for example, holly) and will help you make informed long-term decisions.

Structural privacy

If you’re thinking about adding another building to your property—a new garage, a greenhouse, a shed or even a playhouse for your children—your Van Zelst landscape architect will urge you to consider the privacy implications before determining its final placement. Adding a new structure creates a unique opportunity for you to resolve an existing privacy issue. Of course, your Van Zelst landscape architect will take into consideration local building codes, setback regulations, etc. but you don’t want to overlook a chance to solve a problem at the same time you’re tackling a new project. patio-with-arbovitae-hedge Some of the best evergreen trees for privacy, arborvitae create a dense yet beautiful living privacy screen for this outdoor dining area.

Define Your Privacy Goals

Now that you’re aware of the different types of privacy options available to you, it’s time to focus on mapping out your privacy goals. Think about what you want to achieve. Do you want to block out an unattractive view? Looking for landscaping ideas to block neighbors? Create a cozy dining nook? Or do you have some combination of goals for different areas of your property? Your Van Zelst landscape architect will help you identify and define your goals for your landscape project.

Choose Your Plant Palette

Once your goals are defined, you’ll work with your landscape designer to choose the best plants for a privacy screen that will help you achieve each of your goals. Our team will consider their growth rate and size so that you have a sense as to how long it will take for your landscape to mature into your vision. Van Zelst will choose a mix of hearty evergreens and perennials that add pops of color, as well as allocating appropriate “temporary plants” like verbena or ivy to fill in spaces while slower-growing plants mature to the design intent. Ultimately, your budget and planting access will dictate the size of plants installed—typically, the more mature the plant, the more expensive.

Get the Soil Ready, then Maintain

After selecting the plants, the Van Zelst team prepares the soil. Not only does this mean ensuring the soil has all of the proper nutrients to support the plants’ health, but it also means bringing it up to the proper elevation to increase the planted height of smaller plants, so that the finished look of the landscape turns out as intended. After the initial landscape project is complete, Van Zelst will maintain it, including providing annual fertilization to make sure your garden grows quickly and ensure that all of the plantings reach their full maturity. bicycle-garden-art-blue-spruce-backdrop 
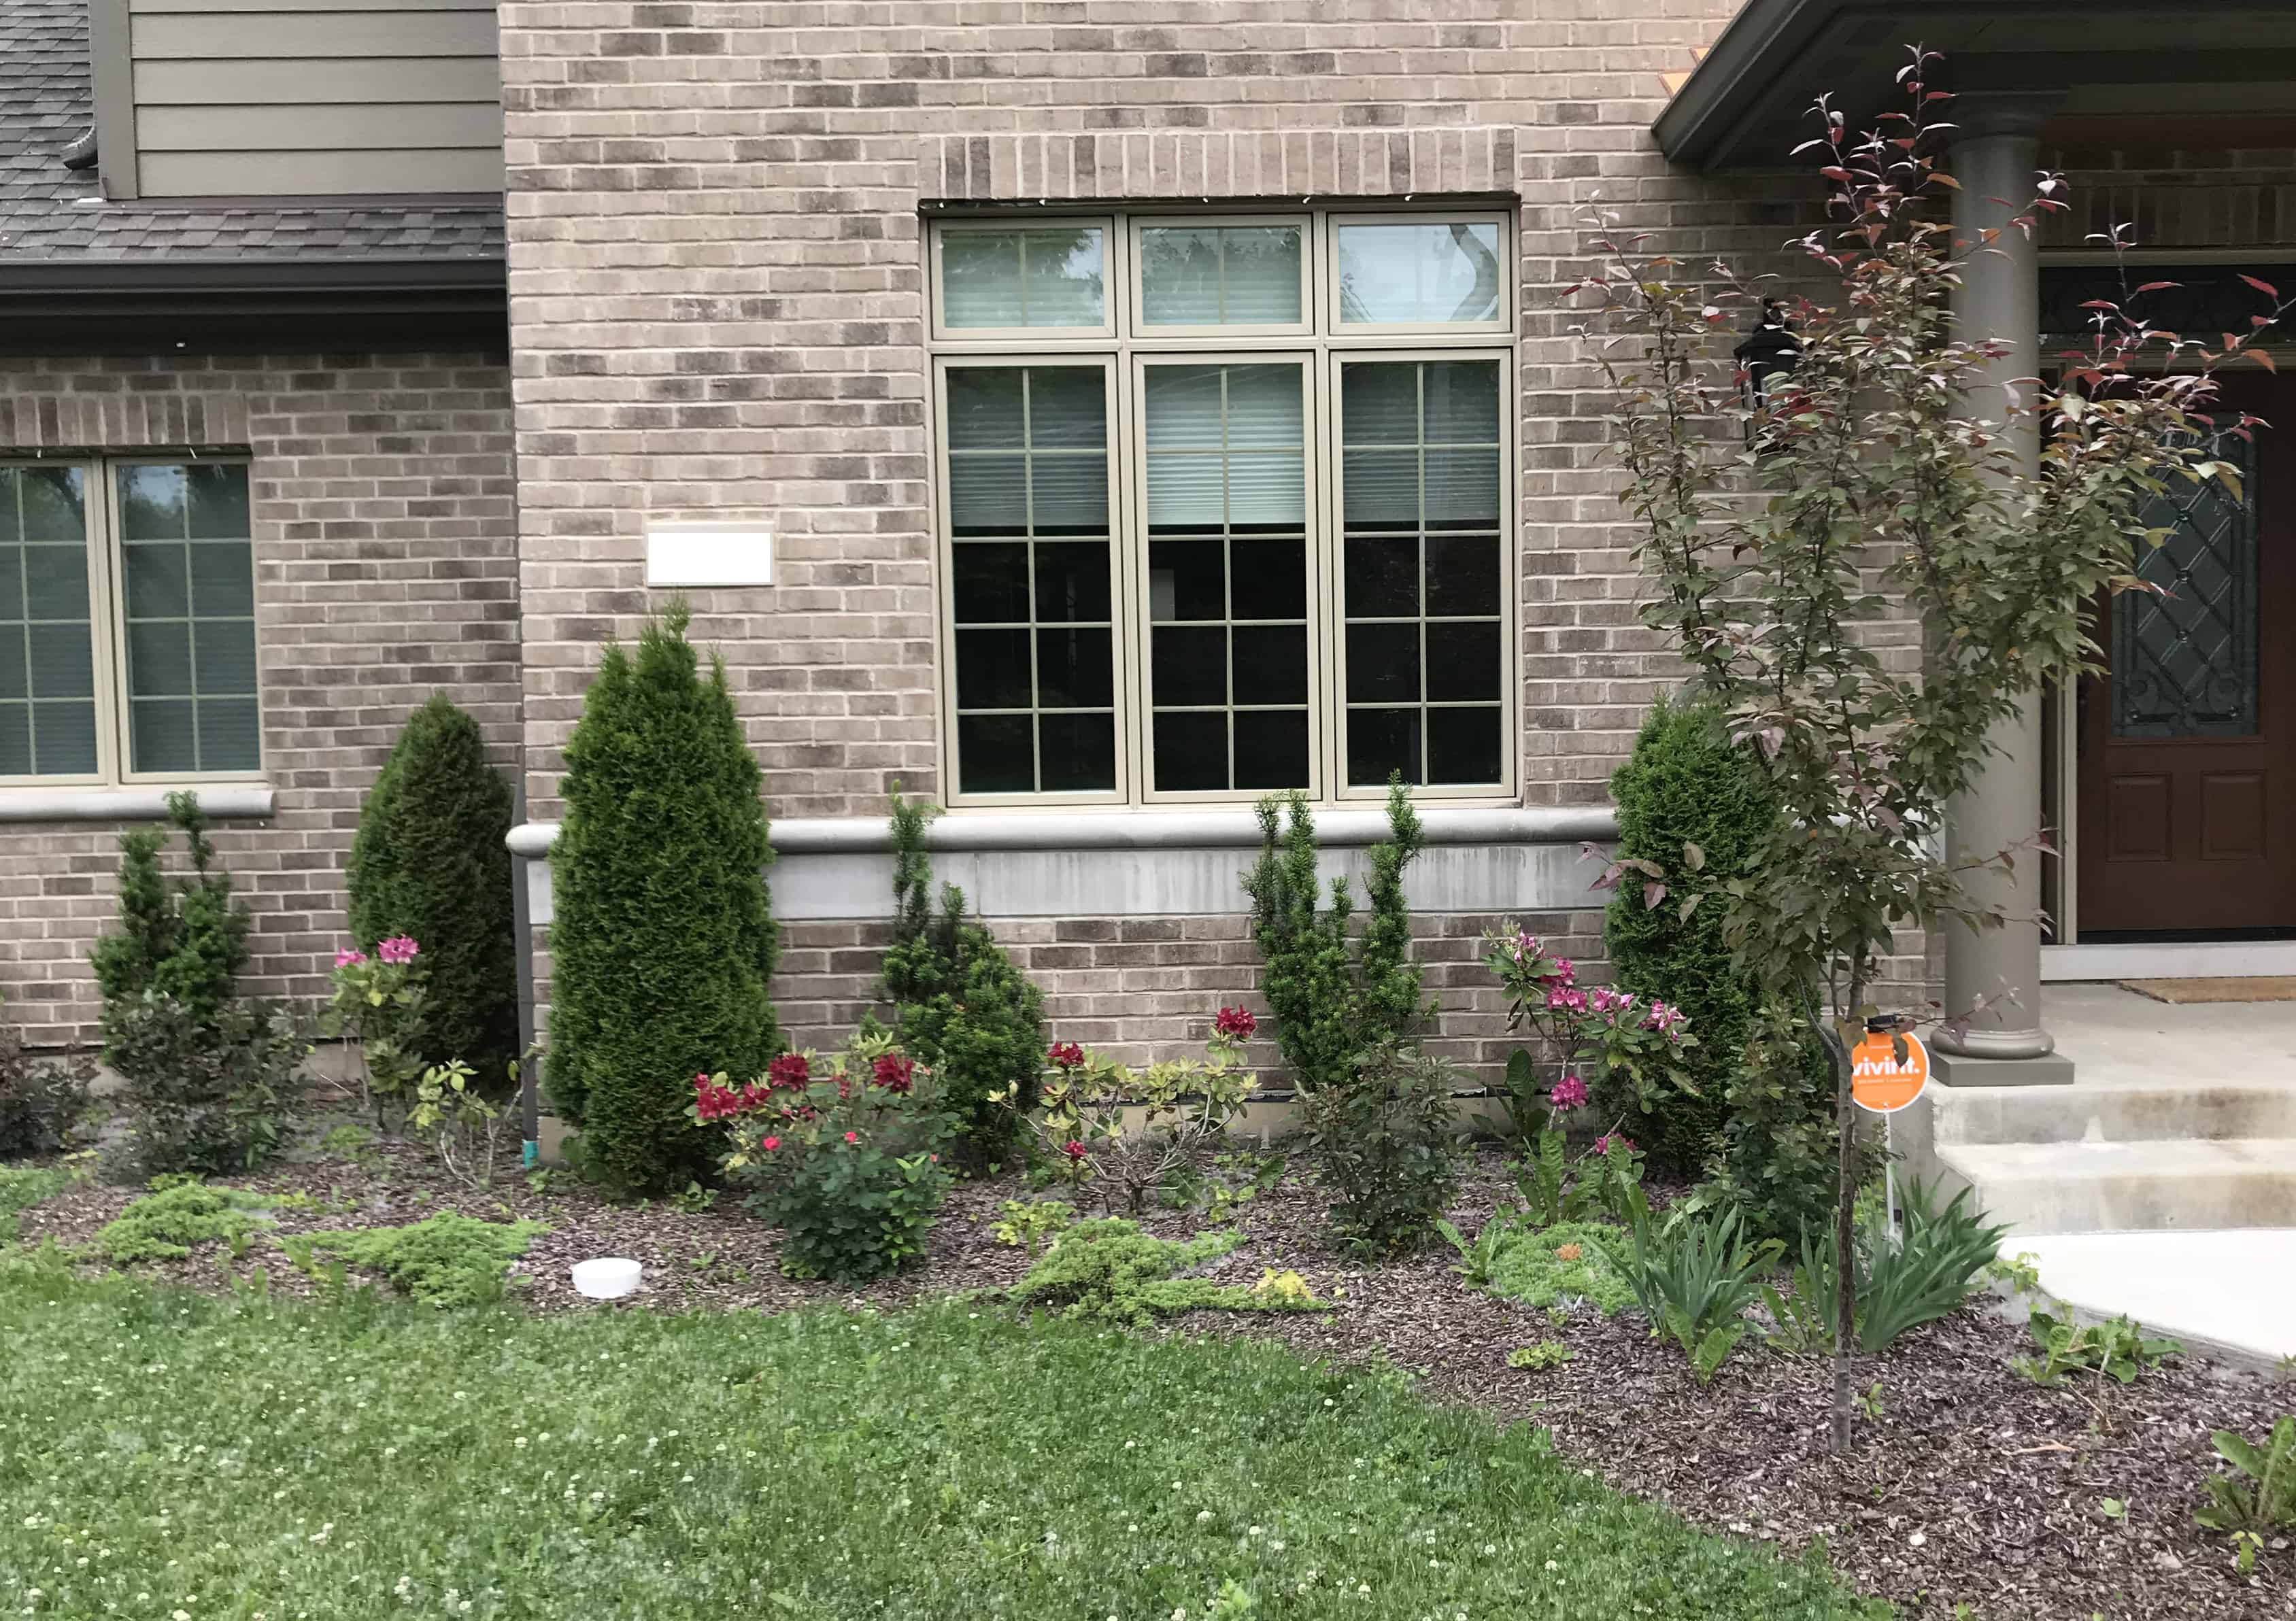
Maintaining and fertilizing plants is all part of ensuring that they continue to stay healthy, providing privacy and beauty for years to come.

Words of Experience: Rethink Perimeter Plantings

Wondering about the best plants for your fence line or property line? Many clients start out a landscape project wanting to place plantings around the perimeter of their property for privacy, but we often urge them to reconsider this thought as we’ve found it may not be the best option. Instead, we suggest that you consider planting to take advantage of perspective; for example, cutting off the field of view from major windows or gathering areas.

5 Ways to Add Style to Your Patio

1. Add a Pergola

Having an outdoor patio is wonderful, but adding a canopy of your head is even better. It will feel more like an extension of your home. Dressing up the pergola with string bistro lights or an outdoor chandelier will add even more character to the space. Make sure the ‘outdoor’ fixture you are selecting is wet rated. There are many on the market that are only damp rated. Meaning they have to be installed in a covered porch area vs. an open pergola. Another tip, if you are planning on installing a light or fan, make sure your Landscape Architect or carpenter designs a notch (see image to the right) into your pergola post so they can hide all the electrical wiring needed. It will feel like an afterthought if you have exposed cords running up your pergola posts. Even if you try hiding them with a climbing vine.

2. Add Height

Break up the low growing horizontal planting with height and interest to your summer pots. A colorful annual display can be quite beautiful but why not try something more unique. We added 4 lemon trees to this client’s collection of Italian terra cotta planters. These lemon trees are located around the pool landscape. They add height and a light buffer between the pool patio and other entertaining zones.  The homeowners love being able to go outside to grab a lemon to add to their ice tea or beverage.

3. Update Your Hardscape

This patio on the left does the job with getting your guest outside to enjoy a meal and to provide shade during the hot summer days but it doesn’t exactly have the WOW factor. The lawn is sloped up around the patio to accommodate a level patio area but then leaves an awkward step leading you into the lawn. What we did was – replaced the stoop and steps, updated the main patio with a bluestone inlay and Fond Du Lac outcropping edge around the whole patio. Also creating a lower grilling area to accommodate more guest. The wrap around step makes a cleaner transition from the lawn to the main patio. Also, now the pergola is a real focal point. Dressing up the post with stone base columns and keeping the wood its natural color creates a pleasant contrast to the white house trim.

4. Add a Planter

No need for a cut flower arrangement when you have a permanent table top planter to add style to your patio. This is a lovely idea to always keep your entertainment space decorated. Adding an outdoor rug and some pillows will complete the look even further. Your guests will feel quite comfortable and at home.

5. Add an outdoor kitchen

Check out this dramatic before and after!

Before – These homeowners had separate components on their patio (green egg and rolling grill cart). That is fine for the casual weekend griller but they asked for something grander. Their wish list included a main entertainment space that could accommodate 10+ adults comfortably.

After – This was a tremendous difference to this space! We designed and installed 2 separate bar countertops (seating 10 adults total), a Kalamazoo grill, fridge, pizza oven, outdoor TV, outdoor fan, and the list goes on and on! Now this is definitely the go-to area for this backyard. They even incorporated outdoor heating elements for those late-nights sports games!

Garden Depth Begins With 3D Layers: Planting for coverage and a unique blend of color, form and texture.

Sample of SketchUP design.

When Google put out their revolutionary design software, SketchUP, in 2010 it became a complete game changer for many novice 3D design professionals. All of a sudden, anyone could start playing around with buildings, interior and exterior spaces for FREE!

This trend appeared quickly within the landscape industry and early adopters of the software were able to grow in their skills with simple tutorials and transform their colorful landscape renderings from the rolled up page on the table to a visual fly through of a client’s future landscape. This presentation tool instantly bridged a gap that sometimes existed in the presentation of a two dimensional landscape plans; no matter how beautifully it was drawn and rendered to perfect scale and down to every horticultural detail, sometimes the client still had trouble visualizing the garden versus pictures on websites or magazines they had seen.

Traditional vs. 3D

Additionally, this sometimes changed the way we as landscape designers and architects evaluated our own plans and thought in 3 dimensions of coverage. It is a staple of good landscape design principle to use the 3 elements of; color, form and texture to make for compelling landscape compositions that create depth and interest. However, occasionally, when drafting in 2 dimensions, some critical vertical zones are missed due to the form of adjacent plants creating a gap in the landscape. This is where seeing the same space in 3 dimensions can help in designing in layers to cover all of the height zones necessary both tp create a successful garden and an enchanting environment.

This principle translates from the drawn design concept to the garden through the use of plants with various heights to bring the building or surrounding landscape into scale. The use of differing heights of plants allows the site line to be broken and creates movement from one point to another.  For instance a row of arborvitae, a most common hedge plant, does not create depth but rather a wall.  But by planting other plants of varying heights in front of the arborvitae you soften the “wall” and create depth in the garden. Another important element to consider when creating successful layers is by using plants of different textures. For example, you might use a very thick lush groundcover such as Pachysandra, bordered by the lacey foliage plants such as Astilbe, set to a higher backdrop of the solid leaf of a Hosta or Ligularia and then a more open branching habit of a plant like Tiger Eyes Sumac or Judd Viburnum. Now that you have reached a height of 3-5’, you could look for a more solid backdrop such as Arrowwood Viburnum or a broadleaf evergreen such as Green Mountain Boxwood or a conifer like Arborvitae. Using plants with different foliage color is another great way to achieve proper layers in a successful garden planting. Dark greens vs. light greens, chartreuse shades, yellows, blue needles of conifers and a nice contrasting deep burgundy will make for some great companion plantings creating depth and interest. Utilizing the concept of three dimensional design and the 3 principles of color, form and texture will serve as a framework to establish a beautiful, head turning garden with depth and interest that will sustain the landscape for the lifespan of the plants chosen.


Let’s talk spring bulbs

This is the time of year we are putting our gardens to bed.  But this is also the time to think about spring bulbs!  They are super easy to plant and a great way to bring much needed color to the garden in early spring.  Most bulbs need what is called vernalization, this is the process of exposing the bulb to cold temperatures to allow the plant to go dormant, this dormancy prepares the plant for a better blooming period.  So if you live in a warmer climate be sure to purchase pre-chilled bulbs.  There are so many varieties to chose from: you can extend the bloom time by selecting early to late blooming bulbs!

Once you have decided what to plant you’ll have to decide where to plant! Make sure you have selected a full to part sun location, bulbs won’t do well in the shade.  The site must also be well drained, a wet spot will get you rotten bulbs!  Prepare your soil for planting by first tilling the soil and then adding peat or compost to it.  You are now ready to plant.

For a natural look you’ll want to plant in groups, don’t line them up like soldiers unless you are planting them in a cut flower garden. As a general rule of thumb planting depth should be 3-4 times deeper than the bulb is tall.  Place the bulbs pointy side up or if no pointy side, look for roots and plant the roots down.  Fill the hole back up with your amended soil and then cover with mulch.  Water well in the fall so the roots start growing.

Now sit back and wait for spring!  Bulbs are often the bright spot at the end of long winter.  They are relatively inexpensive, easy to grow and will easily reward you with years of enjoyment!

Don’t have time to get your bulbs in the ground give us a call and we’ll do the work for you!

Last day of summer and first day of fall is coming…

There is no time like the present to think about fall.  That could mean pumpkin everything, corn mazes, apple picking, hay rides, cool nights and so on.  But here it means fall annuals.  Each and every year we rotate our planters for the seasons.  With summer drawing to an end, the summer annuals are on their last legs.  It’s time to change things up and add some fun fall colors to our planters.  These could be your traditional mums and pansies in traditional fall colors of oranges, yellows and rust.  Or you could spice it up by adding in some fun accent plants like bold grasses, ornamental peppers, cabbage and kales, annual rudbeckias, heuchera for leaf color and those often overlooked long blooming annuals like celosia and snapdragons.  You can certainly amp up the color with a great mix of all these annuals.